|
A review of my favorite Rosemary and Co oil painting brushes by Malcolm Dewey
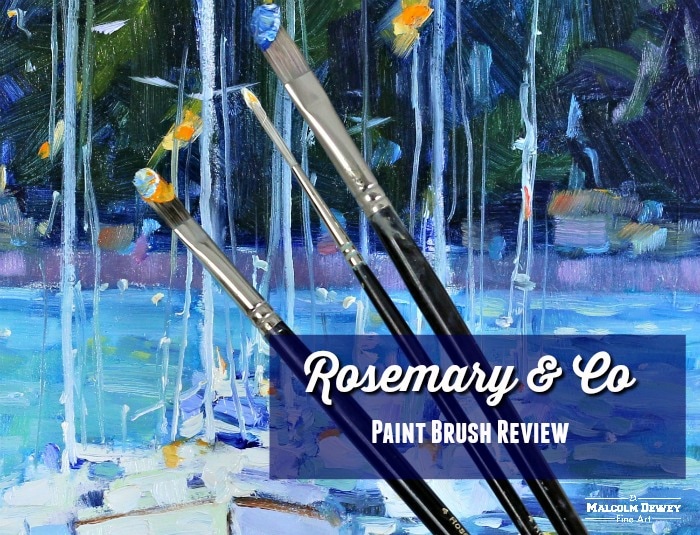
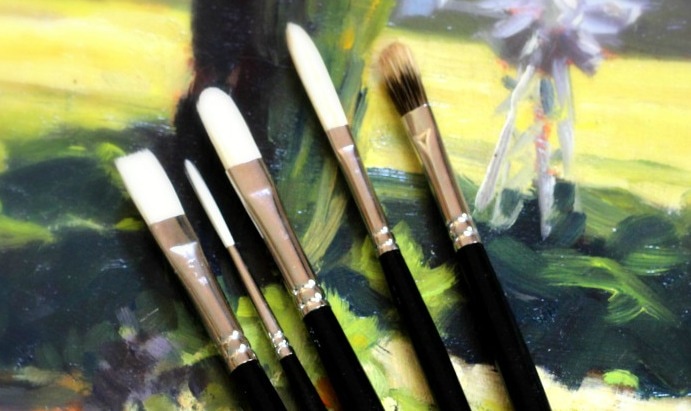
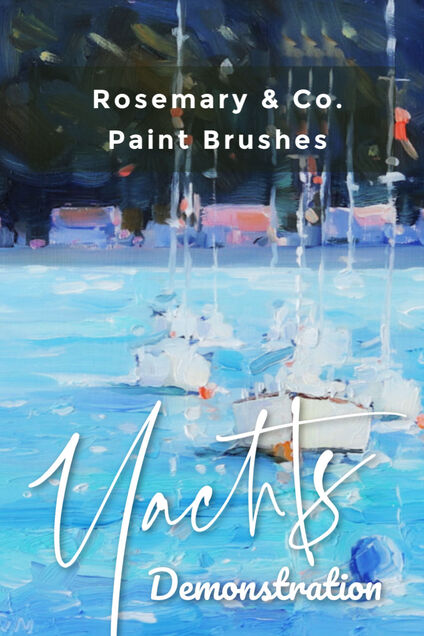
Do premium, professional brushes make a difference to your painting? Are they worth the cost? I was able to get some answers when I recently received my new Rosemary & Co oil painting brushes from The Italian Art Shop in Cape Town. The Classic bristle brushes included long flats, filbert and Egbert brushes. A rigger brush rounded off the bristle brushes. A fine hair badger brush from their Master’s Choice series was included too. First impressions? The bristle brushes have interlocking bristles which means that the brush keeps its shape. No splaying or misshapen bristles ensures each brushstroke is true. There is good flex in the bristles too. The handles are long and the manufacturing quality is excellent. There is also a generous amount of bristles in each brush. The brush head seemed thicker than other premium brushes that I have used. The Egbert brush was impressive with especially long bristles for a more carefully applied paint stroke. The rigger also has lovely long bristles making it a superb brush for fine lines. Rosemary & Co are a small UK based company that hand make their brushes. They have a fast growing following among artists worldwide including many artist superstars. So I was keen to use the brushes and see what the fuss was all about. My Studio Workhorse I was not disappointed. The long flat brush is the workhorse brush in my studio. It must withstand vigorous brushwork. Be versatile enough to be used for many different strokes and not lose bristles in the process. The brush must keep its shape after daily cleaning and last for several months or more. This long flat easily ticked all of those boxes. So too the filbert. The rigger was a delight when I used it in a painting of yachts. Of course to paint the rigging and to sign my name. What About a Fine Hair Paint Brush? The badger hair brush is sublime for fine paint strokes in the true old master tradition. This brush has a generous amount of hair making up the brush head. The brush should last years if cared for. See my suggested method for cleaning brushes. Although the brushes may cost more than basic student brushes they will last a long time if properly cared for. Much longer than cheap brushes. Plus the quality of brushwork is markedly improved. Precise brush-marks, clean lines and edges are assured. Plus no frustrating hairs falling out during the painting process! All of these qualities make for better paintings and a happy painting experience for the artist. All things considered Rosemary & Co brushes are an excellent investment for both amateur and professional artists. Watch the brushes in action.Start your painting lessons:
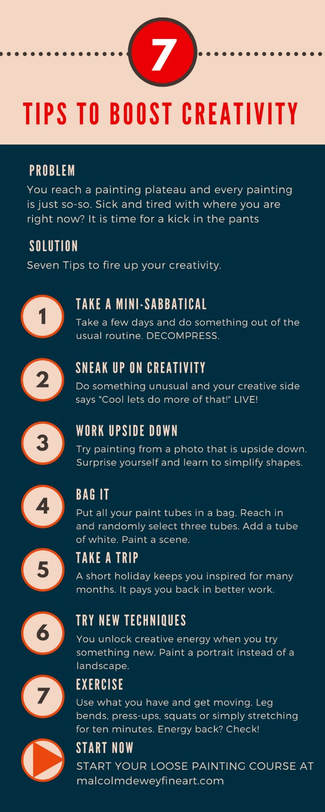
Pin for later ...We all have those times when our art seems to be flat lining. You reach a plateau and every painting is just so-so. Painting is no different. Been there plenty of times. But that is a good thing. No really, because the only way you can lift up your work is to be sick and tired with where you are right now. It is time for a kick in the pants (or whatever suitable metaphor works for you). Here are seven suggestions: 1. Take a Mini-Sabbatical This is a tough one, but you have to drop your painting for a while and decompress. But you must not fret either. Take a few days and do something out of the usual routine. Go for walks. Visit some scenic spot nearby and simply look. Take the kids and get ice creams. Do gardening. Your mind does take time to unwind so give it a while to get your creative mojo back. 2. Sneak Up on Creativity Yes it sounds weird, but your creative side and your mind are not the same thing. Or so it seems. What I mean is that your mind sulks and you feel down. But do something unusual and your creative side says "Cool lets do more of that!" For example take your camera and a list of ten words. Then take photos of things that you associate with the words. Pick the words at random out of a dictionary then go for a walk and take the photos. 3. Work Upside Down No not you, but hey, if it works go with it. Or instead try painting from a photo that is upside down. Simply paint the shapes you see as they appear upside down. No pressure of trying to make it look like an actual scene. Not only is this amusing, but it is a great learning exercise in seeing shapes. Then turn the painting around and see how accurately you record the shapes. Interesting. 4. Bag It Put all your paint tubes in a bag. Reach in and randomly select three tubes. Add a tube of white. Paint a scene. 5. Take a Trip Not always possible, but sometimes all you need to do is say "The heck with it, I'm booking a trip to ..." Before you know it a long weekend is booked somewhere different and you are excited. Your family thinks you are a hero and everyone has a breather. Often a one week holiday keeps me inspired for many months. Such a trip always pays me back tenfold. It is kind of an investment for mind and wallet. 6. Try New Techniques Doing the same thing and expecting different results is madness, they say. The most common complaint I hear is artists trying to loosen up their painting style. In fact a have devoted considerable time to making a course that will help with this issue. (See below) The fact is that you unlock creative energy when you try something new. Paint a portrait if you always do landscapes and vice versa. Use different materials. For example use pencils to sketch an entire landscape scene. Really go for it and push yourself. 7. Exercise Artists are often pretty unfit. Yup guilty of that. A little exercise goes a long way to kick starting your energy. But avoid rushing out to buy exercise equipment. In fact avoid shopping. That saps your spirit. Use what you have and get moving. Leg bends, press-ups, squats or simply stretching for ten minutes. Google exercises you can do with your body weight. You will never need a gym or equipment to get a good workout. Feel the energy come rushing back. My Personal Choice: Numbers 1, 5, 6 and 7 are favorites for me. Number 2 is fun as well. Let me know what works for you. The Loosen Up Your Painting C0urse
Now live and looking good. Try out the techniques and lessons in this course. Frequently updated with my personal tips and painting lessons. I have a special offer on this course . To grab this offer click here.
Pin this Infographic to keep these tips handy:Painting landscapes in in a bold, expressive manner is great. But often artists forget this approach when painting portraits. The portrait is painted in a tight style with little brushstrokes. All the excitement is gone and you may feel disappointed with the result. Trying to get a likeness becomes inhibiting. But it does not have to be that way. You can still get a likeness and use bold brushwork and color. In this week's video diary I am painting an oil sketch to illustrate this idea. Using a size 8 long flat bristle brush to ensure that loose and painterly style is not lost. So often artist leave the bristle brush for soft hair brushes when they start a portrait. That is okay if you want a smooth photo finish. But bristles can leave a wonderful texture even on portraits. Plus you will note he wide variety of brushstrokes and details that this large brush can achieve. Maybe you will be inspired to try a loose approach with your portraits. Go for the gesture and achieve a likeness this way without worrying about a photo-real painting. Take a look at this oil sketch to see what I mean.
Discover how to paint in a loose style: Now you can learn how to paint in that loose, impressionist style you love. Find out at How to Loosen Up Your Painting.
Painting in the studio has its advantages. The environment is comfortable and easily managed. You have your privacy and the time to consider your next steps. It is especially suitable for larger paintings that may take days or weeks to complete. Unlike spontaneous outdoor painting, the studio has a more considered approach. But it is not that simple. Time Can Let You Down Time to consider often leads to second guessing yourself. Changes are made to the painting. These changes often lead to frustration and abandoned paintings. Other times we may overwork the painting. The result is a tight and dull painting. This outcome is sadly easy to achieve if you do not have a system to prepare your painting. The System that Works Everywhere There is a simpler way to get results consistently. Have a system for preparing your painting. Even better is to use the same system outdoors too. This way ensures that you approach each painting more or less the same way. So the system must be simple and effective. Quick enough to use outdoors, as far as possible and easily applied indoors. Are Photos Your References? First off are your studio paintings inspired by photographs? Probably most artists would say yes. Photos are popular references. That is fine so long as the photos are your own. This takes care of any copying issues. Plus it ensure that you have an emotional connection with the scene. Here are tips on how to use photos effectively as references. Avoid Photo Dependency A better approach for your studio painting is to include small paintings, studies and sketches as your primary references for the actual painting process. Yes the actual subject may be recorded in your photograph, but if you have these other references to work from you will find the painting much simpler. In the video below I refer to a number of small paintings and studies for a large painting of eucalyptus trees. So let us have a look at the three essential steps I use to prepare. Three Steps to Prepare a Successful Painting 1. Reference Photo: Most commonly you would be inspired from a place you have visited. Then you consider photos when you get back to the studio. Perhaps even sketches taken at the scene? The reference photo will provide the key information to drawing the scene. 2. Notan Sketch: As shown in the video a little sketch using a black and grey wedge shaped marker is enormously helpful. It sets out the structure, mass shapes, three values and helps compose the painting. All in a little two-minute sketch. Fantastic. If you want a quick course (plus 50% off) on how this system can add power to your paintings try this one called (not surprisingly) How to Add Power to Your Paintings Instantly. 3. Small Studies: I rely on small paintings more and more. Especially paintings done outdoors. You can get outdoor studies simply looking out of a window, in your backyard or at any outdoor scene you like. The point is your response to the scene in paint creates a fantastic reference for the actual painting in the studio. A photo does not convey your brushwork and how you solved the painting problems the scene presented. But a small painting gives you the insight you need. TIP: So start making studies for future reference. Keep these near your easel for reminders. They also boost your confidence when you are struggling with a large painting. More Options: The three steps above can make a huge difference. But you can add watercolour sketches, pencil or pastel sketches and paint mixing exercises too. The latter can help you plan your painting mixes for tricky colours. Ultimately you decide on what works for you. Some artists are impatient to get started while others can take days to plan and prepare. But preparation will make your painting improve quickly. And that makes for a happy artist. Ready to take your painting skills further? All of these methods and much more are captured in seven hours of video , notes and assignments in my flagship courseLearn to Paint With Impact. It is worth considering if you want a sure method to vastly and consistently improve your painting. |
AuthorMalcolm Dewey: Artist. Country: South Africa Archives
June 2024
Categories
All
FREE
|
|








 RSS Feed
