|
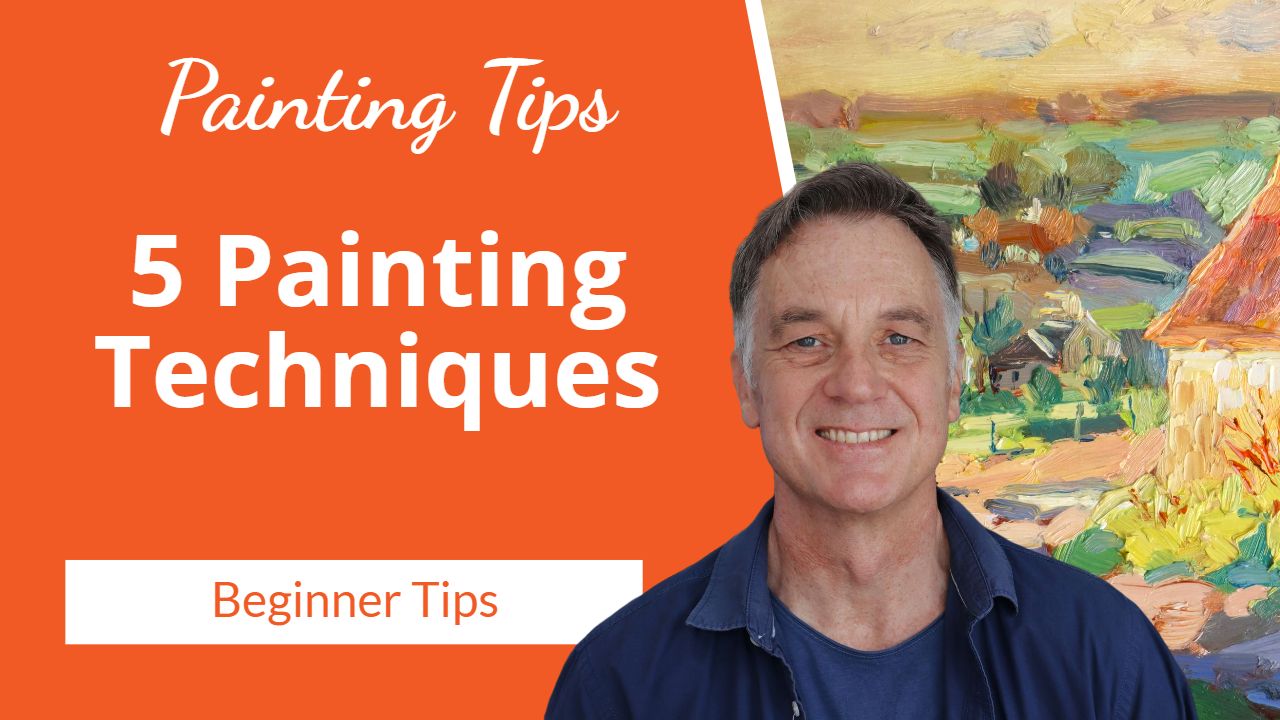
Today you will discover the five important techniques that every oil painter needs to know. In fact, if you paint with acrylics or gouache, these techniques will also be useful to you. All these techniques are important and you'll use some a lot, others not so much. I'll probably use four out of five of these very often. It does depend on your style of painting, but it is good to have a working knowledge of all of these techniques. Let us begin!
Use a little bit of white spirits or some type of medium to loosen the paint up. Then use a large bristle brush (for oils) to create the big mass shapes and composition right from the start. You can go over this with your colors as you develop the painting, of course, but at this early stage, just big shapes. Get rid of the white canvas and get your composition established early on. You can take some tissue or cloth to rub out where the lighter areas are going to be. In doing so you are already creating the beginning of a painting. In the demonstration you can see the beginning of a line of trees with a field in the foreground.
Using a glazing medium I've made with 50 % distilled turpentine and 50 % linseed oil. Then mix a little glaze into a bit of transparent yellow, or transparent color of your choice, before brushing the glaze over the dry surface color. You can lift off some of the oiliness if you want using a lint free cloth. Wipe off areas where you want the glaze thinner. As you can see in the demonstration the yellow glaze warms up a rather cool area of grass. Caution!Do not add white paint or anything too opaque to the glaze. White is too opaque and instead you will be creating a tint. Nevertheless, you can actually still use an almost transparent tint like this. Maybe to create some mist or smoke in a scene. In the demonstration video I create some mist among the distant trees.
This is a great technique for smaller works, of course, and it creates a lot of energy and spontaneity in your painting.
You can start your painting with thick paint, but generally I work thick over thin. This is the concept of fat over lean, where thicker paint is applied over the thinner paint.
This creates a broken color effect. In the demonstration I drag light color over the yellow grass color to create a “sun over grass” effect. You can do this over landscapes or water as well. Drag some white or light colored paint over darker water color and create that beautiful sunny sparkle. Scumbling is very important and can also be used to create highlights on many other subjects too. For example the side of a tree, maybe branches as well, catching a lot of sunlight. It's like starting off with your impasto layers, a lot of paint on the brush, but now you are dragging it to create broken color and letting the color below show through here and there. A beautiful technique. Use scumbling as often as you can to get that broken color and sparkling light in your landscapes. Especially if you're a beginner, you want to take a note of these techniques and practice them often. For me, glazing is one I use very seldom, but it is handy. Even for an impressionist, you can still glaze certain parts of your painting where perhaps you need a little richer color, or you change the color temperature. That to me is the most important reason. Practice!To use these techniques well you must preactice them often. Take the risk so that you can learn from mistakes. Then you will see how your skills evolve as you develop the muscle memory for the task. Next Steps?
Develop a Strong Painting Process with me each month!
Join The Artist’s Live Channel and take part in my monthly live demonstration. Watch the recording and try out the painting with the free reference photo provided. Share your progress in the community and receive a critique from me. All in the Artist’s Live Channel. See for yourself! It's a great deal |
AuthorMalcolm Dewey: Artist. Country: South Africa Archives
June 2024
Categories
All
FREE
|
|


 RSS Feed


