|
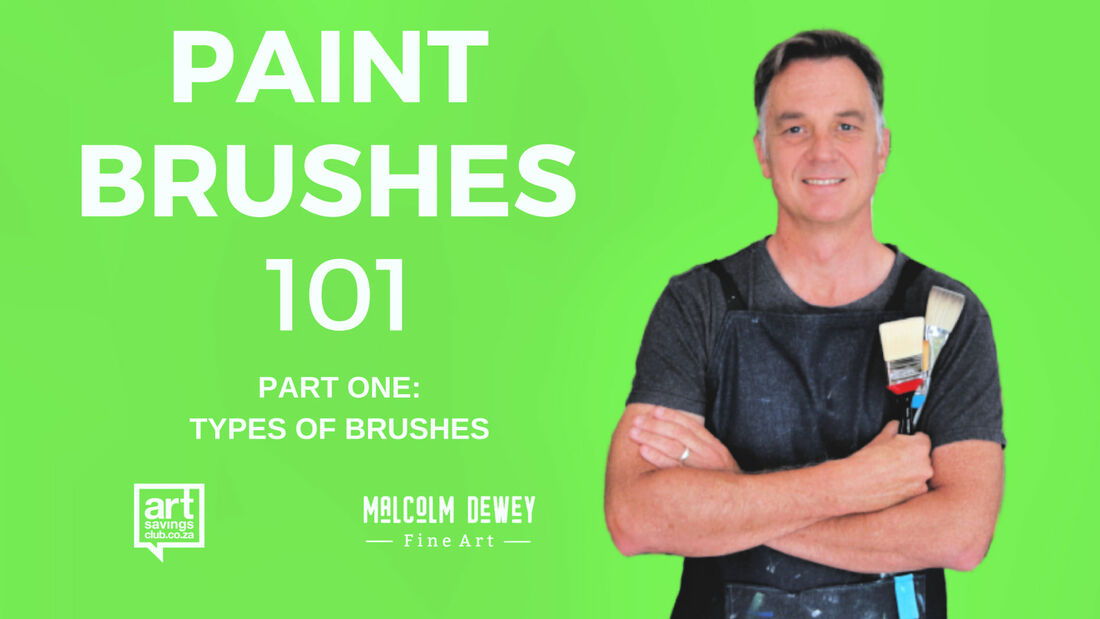
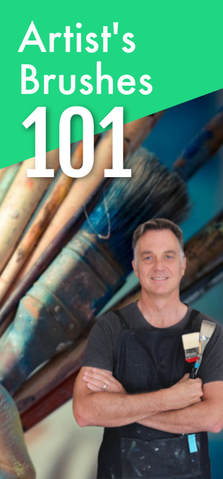
The paintbrush is the unsung hero in every artist’s studio. Not as flash as bright colors and often taken for granted. But without the brush we artists would be sorry indeed. There is also plenty of confusion about what brushes to use? Is an expensive brush worth it? Synthetic or natural bristles? And much more. In this series of articles I will try to shed more light on this topic. I will also be demonstrating brushes for oils, acrylics and watercolor from the Georgian range of brushes supplied by Art Savings Club. Keep an eye out for the videos on these topics. You can watch Part One of the videos below. But let’s begin with an introduction to brushes.
Breakthrough in Brush Manufacture
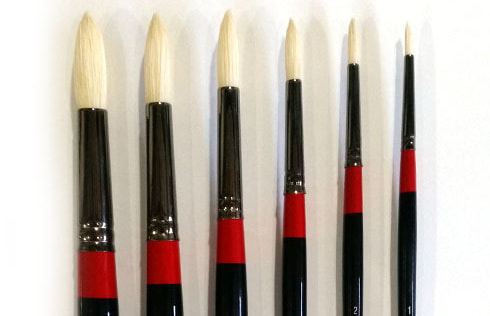
Brushes in many forms have been around for centuries. Generally the Renaissance artist’s brush was a round shape. Much like a traditional mop brush that watercolor painters would recognise today. But a massive leap forward took place when the metal brush ferrule was adopted in the nineteenth century. The ferrule is the metal sleeve that holds the bristles and attaches to the handle. The ferrule was in turn crimped onto the handle to keep it in place. Brush manufacture was made simpler and cheaper as a result. Another benefit of the metal ferrule is that the metal could be flattened resulting in a flat brush. The Impressionist painters loved these flat brushes because of the hard edged brush marks made by flat brushes. A deliberate and pronounced brush mark gave more texture and suited the impressionist style. Coincidentally the invention of the portable paint tube at that time made outdoor painting viable too. What an exciting time for art! Brush Anatomy The typical brush consists of the bristles, ferrule and handle. Simple enough. The handle will be either long or short. Typically oil and acrylic brushes will have a long handle. This enables the artist to sand further back from the painting. In this way you can get a more complete view of the painting. Plus this arms length approach keeps brush marks more loose and painterly. Excellent for thick oil and acrylic paint. Watercolor brushes typically have short handles to allow a top-down aspect between artist and paper. The brush is often held vertical to the paper as washes are applied. A long handle would get in the way of this approach. The Ferrule is usually made of metal. It can hold bristles in a round or flat shape. Artists need to make sure the ferrule is properly secured to the handle and firmly crimped. Avoid cheap brushes with poorly formed ferrules or signs of rust. Bristles To make it a brush it must have bristles. But there is a world of options so it pays to keep things simple. Bristles are either natural hair or synthetic. Different mediums prefer different bristles too. With oil paints there are two broad categories. Artists who prefer heavy impressionist brush strokes or the blended “Old Master” style. In order to create the impasto, painterly strokes of the impressionist a stronger hog bristle is preferred. This bristle can scoop up lots of paint, but has enough spring to apply the paint firmly to the canvas. Then return to its original brush shape. The Chungking bristle from China is a reliable bristle for this role. A tip is to make sure the bristles are interlocked. This technique keeps the bristles in their original shape for much longer. The finer, blended brush stroke requires a softer bristle. The famous sable hair bristle is sought after for this purpose. Other popular options are badger hair brushes. These fine hair brushes endure soft edges and smooth surfaces. Paints will have to be softened up with medium in order that the finer hairs can work the paint. Synthetic of Natural? Bristle options also include synthetic bristles. Manufacturers do claim that synthetic bristles have benefits over the natural hair bristles. The synthetic bristle has the spring of bristle with the finer hairs of sable. Also the synthetic hairs are cheaper and may also make environmentalists feel better. There is that. But my experience with top branded synthetic bristles for oil painting has been disappointing. It does seem that synthetic bristles do not respond well to solvents. Within a short time I have a synthetic brush with splayed bristles. The hog bristle brush, however, keeps going without problems. You can experiment, but for me the traditional bristle brush is perfect for oil painting. Especially since I also want the texture and spring that hog bristle provides. Brush Shape There are many shapes of bristle to choose from. Traditional everyday brushes and specialist brushes abound. Let’s look at the typical shapes you will find at the store. Round Brush This shape has been around forever. It is versatile and can make large or small shapes and is handy for drawing the subject on canvas. No doubt your first paint brush was a round. Always have a couple of these available in a fine and medium size.
Rigger
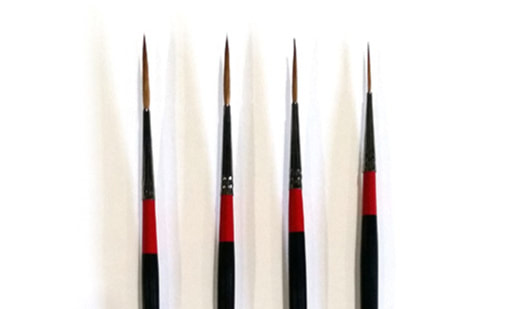
A variety of round brush. The rigger has long fine hairs and is useful for long delicate lines. It holds a lot of paint and is superb for many shapes like yacht masts and rigging - no surprise. Nice to sign your name with too. You can also find riggers with hog bristle, which is the variety I prefer. I always have a rigger handy in a size 4.
Long Flat
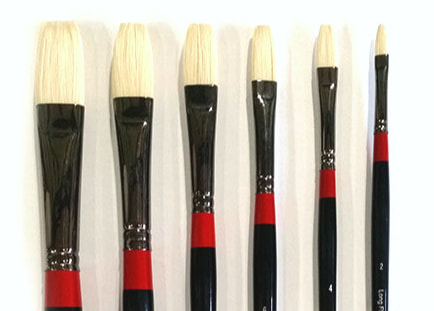
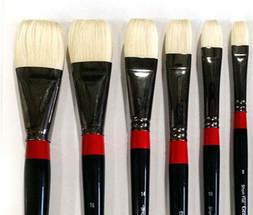
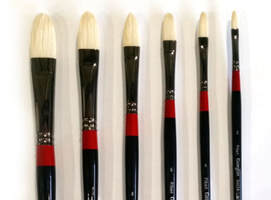
The Impressionist’s choice. My workhorse brush that is also versatile painting different shapes. It has long bristles squared off at the end. Depending on how you angle the brush you can make broad strokes, dabs or relatively fine lines too. The long flat is also ideal for laying down layers of paint wet into wet. The hard edges it makes can be left alone of smoothed out too. At least two of these in sizes 6 and 8 will be most welcome in any artist's studio. Another tip is to purchase a long flat instead of a bright. The long flat will wear down with time and resemble a bright in due course. Bright A flat with shorter hairs than the long flat. This makes for a stiffer brush ideal for scrubbing in color or alternatively, laying in thick impasto. Be careful about working wet into wet as the brush tends to dig into lower layers. Filbert Generally longer bristles ending in a tapered point. Perhaps more versatile than the long flat. The rounded tip is easier to use for certain subjects such as portraits or floral still life paintings. Fan Shape A specialised brush used to make scumbled and haphazard organic shapes such as grass and leaves. Also for soft blending with soft hair options. In my view the use of fan brushes for landscapes is a tad outdated. A better option for fine blending, but use it as required. Wedge Shape Another speciality brush for precise edges. Brush Size What size brush do you need? Here is one of those ticklish subjects. Over the years I have seen beginners insist on using the smallest brush they can get away with. Gradually, with much prompting and growing confidence the artists starts using larger brushes. The general rule is - use a bigger brush than you think is necessary. I am speaking for the loose impressionist style painter. The reason that big is better is that it compels you to paint shapes. Not details. For example a 10”x12”panel can be painted with a #8 long flat brush. Even a #10. But most beginners will use a #4 brush instead. The result is a tight, blended and dull painting. Lots of scratchy details make for an unhappy painting experience. Take this tip and use big brushes. for small paintings.
Matters are complicated somewhat because there is not an exact size and numbering system. One size 8 brush is not the same as another manufacturer's size 8 brush. However it does seem as if this problem is improving. If you are going to take a chance with a size rather get a size up. You can do more with a big brush than one that is too small. Okay enough on this topic - you get the idea :) How Many Brushes? Rest assured that even a beginner will quickly have a jar full of paint brushes very soon. Many will never be used, but we tend to collect them anyway. Perhaps we develop a personal connection with those brushes after all. In reality you will happily get by with four brushes to complete a painting. Sometimes I only use two brushes. A large to get the big shapes established. Then a smaller brush to fine tune shapes. Typically for a 10”x 12”painting you can get along nicely with bristle brushes in the following sizes: #8 and #6 flats #4 rigger or round Most of the painting is done with the flats. A round or rigger can add a few touches like tree branches. Or simply to sign your name. Cleaning Brushes I have covered this topic before regarding oil paints. See the lesson here. It is important to make sure the brush is thoroughly clean. A jar of dirty turpentine will leave a residue of paint on the bristles. So to make sure it is a good idea to rinse the brushes in clean turps after their first wash. Store brushes standing with bristles facing up. For acrylics and watercolor the options are simple. A wipe off with tissue or cloth then a good rinse off in clean water. Store in the same way. How Much to Spend on Brushes? In South Africa the choice of brushes at the typical art store is rather poor. Especially for oil painting. There is usually a large selection of synthetic of nylon haired brushes aimed at the acrylic or watercolor artist. But even these brushes are cheap and nasty. Sorry to say this, but it is true. But times are changing for the better. The brushes I have selected for this series or reviews are a good compromise between quality and affordability. Why pay more? A good brush makes for a better painting experience. You avoid having bristles falling out onto your wet painting. The bristles keep their shape. In turn the shapes on your canvas look pleasing. The paint is worked better too. This is not easy to describe, but you will notice the difference when you make the leap to better brushes. Good brushes also last longer. You will not regret the extra investment. Watch Part One of the video series below. Be sure to look out for Part 2 which will cover oil painting brushes. For your Pinterest boards: |
AuthorMalcolm Dewey: Artist. Country: South Africa Archives
June 2024
Categories
All
FREE
|
|




 RSS Feed
