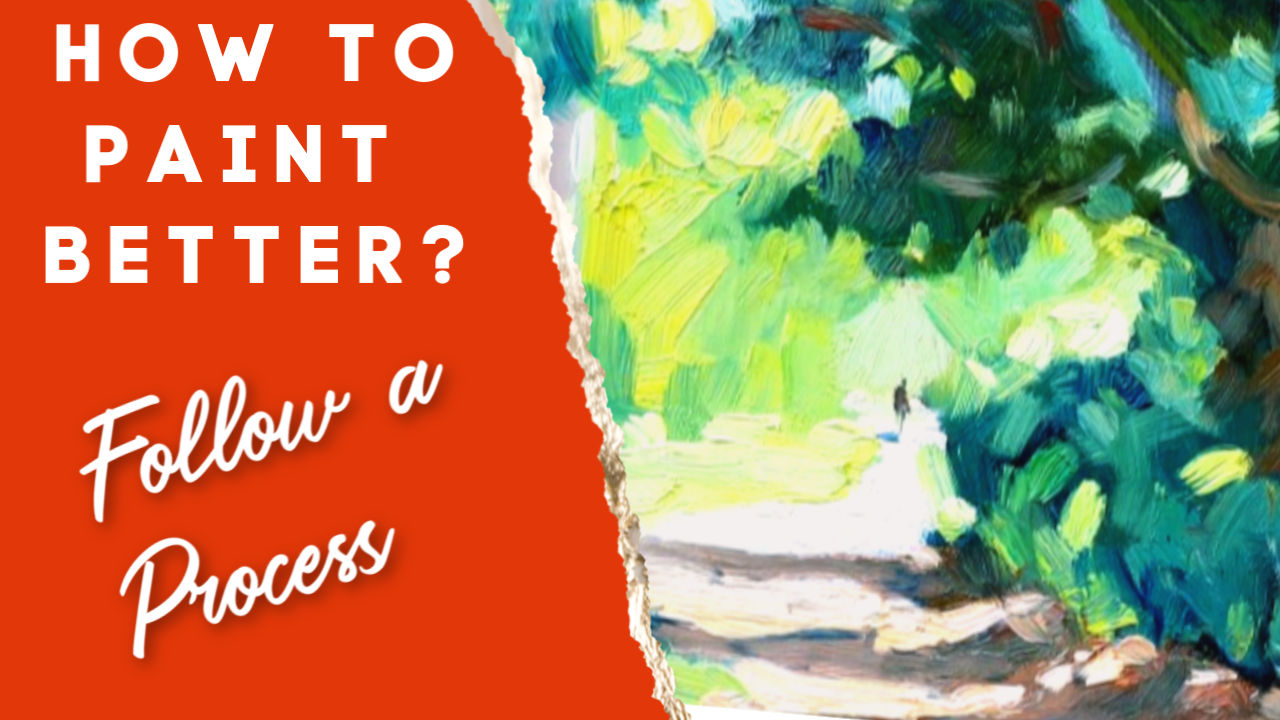
Do you have painting goals? For some artists simply getting a chance to paint among many other demands is a miracle in itself. For others painting is a compulsion that consumes their free time. A need to create increasingly better paintings is standard procedure for these enthusiasts. If you are constantly searching for that new approach, technique or color mix then you may find this article useful. This article is about the beauty of a creative process that delivers results. Not a magic wand. Rather a process that will reward the enthusiastic painter.
There are No Killer-Apps in Painting
Have you come across the mantra: “There’s an app for that.” Got a problem? Look it up and download the app. Ignore app. Look for a new and better app. Rinse and repeat process. Well there is a danger that this process is going to defeat you eventually. Some things are not solved with a magic app. It takes old fashioned elbow grease to fix some things. Painting is one of those things. Unfortunately many beginners give up because the quick fix eludes them. I understand this because there are big promises made to us all the time. Even the headline to this article makes a promise that might suggest a quick fix. Sorry to say, but a quick fix is not practical with a skill like painting. So what is this process anyway? The Painting Process can be Learned Why does improvement elude many artists? Firstly because following the same steps will not deliver different results. Secondly when a positive step is made artists are not sure whether they can repeat the effort. Is it all worth it? Okay enough problems let’s look at the solutions. Talent is only a starting point in this business. You've got to keep on working that talent. (Irving Berlin)
Take a Different Path
Instead of taking the same approach to get the same results over and over again resolve to change direction. A typical approach for a beginner is to see a pretty scene (photograph) and then she decides to paint it. Sometimes the photo is off a stock photo site or perhaps from a magazine. Does this sound like an inspiring situation? Not really. Step 1: Gathering Information Ttry this approach. Look for a scene in your neighbourhood, backyard, room window, holiday experience or downtown. Anything you can see and experience through your senses. Spend time looking at a scene that catches your eye. Step 2: Test the Scene's Potential Preferably a scene that has strong light and dark contrasting shapes. Big shapes. Make notes about the scene. Do a sketch or two. A notan study will help you decide on the mass shape structure. Take photos to aid your memory when you get back to the studio. Your painting has already started even though you have not touched any paint yet. This is important stuff, but so often overlooked. The only real mistake is the one from which we learn nothing.
Step 3: Prepare to Paint
Once the sketches and photos are assessed you have ironed out a composition. You have a focal point. Maybe a secondary focal point? It helps to have this too. Now it is time to test out color. A little color study is a simple version of your painting. The big shapes in color. No fine details. Maybe a 10 x 12”or a 6 x 8” would be better. About six to eight shapes, but not much more. Mix the colors and block these shapes down onto a panel or matte board. Focus on the color. How dark or light and how warm or cool must the colors be - In relation to each other? Step 4: Start Painting the First Layer (Blocking In) Once these steps are completed you may want to proceed with the actual painting. Sometimes you discover that the scene has real problems and is lacking in some way. Your process has picked this up at an early stage. No big deal. Go onto the next scene. Repeat the process. Okay you have a cracking good scene begging to be painted. You painting process continues. Block in the big mass shapes. Typically these will be the dark shapes. In the demonstration video below I follow the basic painting process. Note that a large brush makes blocking in quick and easy. Note also that I use a little white spirits to make a thin (lean) paint for this process. A little white spirits is enough. It dries quickly too. Avoid adding linseed oil to thin the paint. This makes a “fat paint” which slows down drying time. A potential cracking of paint could result later on. The next mass shapes are the lightest lights. The sky is typically the area concerned. Then the middle value colors. They are harder to mix as they are sometimes similar in value. But take your time to observe the light. Is it warm, cool or diffused? Distant light is cooler, more diffuse and colors follow this trend. Foreground middle values tend to be warmer and saturated. Rich, bright or intense are ways of describing these colors. Once you complete this rather methodical approach you will see your entire canvas is covered. Your painting is blocked in and the composition has developed automatically. This is a huge step into the painting. If the painting looks right then you are in with a great chance. If the painting looks wrong to you then work out the issues now. 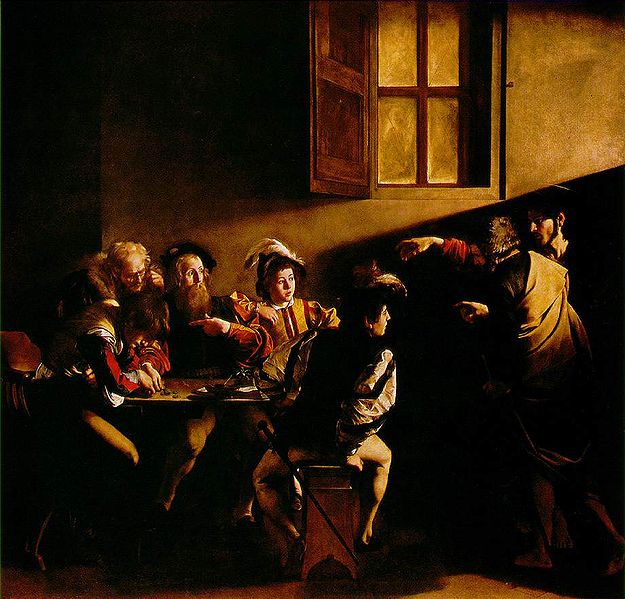
Caravaggio knew the power of strong light and dark mass shapes
Step 5: Assess Always stand back and check the overall structure of the painting so far. If something looks wrong it could be an adjustment of values that is required. Often it is not the quality of your drawing that is letting you down. Instead check that the value structure is in place. The light and dark relationships of shapes makes a painting. If it is wrong then your painting will look wrong. Consider that black and white photos can look great simply due to light and dark shapes. Get those lights and darks correct and you will be aces. Step 6: Refine Shapes Every big shape has smaller shapes within it. You need to see these variations of color and paint them. Think of them as pixels in a digital photo. Too few pixels and you have a blocky image. Many pixels make a clear photo. Now you can decide if you want a photorealistic painting or a loose and painterly one. It is all about how far you refine those shapes. This stage of a painting is tough to describe to artists. Finishing is deeply personal and each artist will respond differently. In broad terms your painting is finished when adding another brush stroke does not add anything to the work. Go too far and you can overwork it. The result lacks spark. Step 7: Assess and Correct Keep the Life in Your Painting They say that the light of life can be seen in a person’s eyes. I agree. But what about a painting? When I paint landscapes I believe the life spark is also about light. If nothing else I want a spark of light to exist in my works. Even the “ugly ducklings” deserve a zing of light. So I look for that strong light contrast. The thick paint and a few edges that catch the eye. So once again I am assessing the painting. Standing back and taking a look. Maybe I will leave the painting and look with fresh eyes the next day. Some artists look at the painting in a mirror. A reverse image can jolt the eye into seeing mistakes. Often I need to regain some of the dark shapes. As I paint in the middle value colors I easily go over too much of the dark shapes that give the painting strength and drama. Often I need to get the big brush and put back some of the dark shapes. The result is that the lights get more intense as they pop out against the dark shapes. Step 8: Stop When to stop? They say when you have nothing more significant to add you had better stop. Something about diminishing returns. All I know is that this is a difficult one to master. You will need to ruin a few paintings through overworking before you can learn this lesson. As Leonardo da Vinci said "Art is never completed, only abandoned". You need to abandon your painting and leave it to stand on its own. Simplicity and Persistence These two words may seem to contradict each other. If it is simple then persistence will not be necessary. But not in painting. It is a constant struggle to stick to simplicity and bold statements in paint. When I want to give up I tell myself to persist. When frustration is highest it is mostly because I am tired and need a break. Do not give up. The next day the answers are there for the rested artist to employ. I hope the demonstration painting fills out what I have tried to capture in words for you. You can paint magnificent paintings. It is within you. Now you have to start. Enjoy the process. Learn the Process
Learn the process of painting and your painting will improve consistently over time. I can help you with this process in my foundation course Learn to Paint with Impact.
Pin for later ...
|


AuthorMalcolm Dewey: Artist. Country: South Africa 
Archives
June 2024
Categories
All

FREE
|

 RSS Feed

|