|
Most artists are confident mixing basic secondary colors like green, orange and purple. But the problem is that colours in nature are not so easy to mix. These neutral colours are not as extreme as paint straight out of a tube. If you have found yourself staring at your palette and the canvas in confusion you are not alone.
But it does not have to be intimidating. By following a logical process you can become a fearless colour mixer. In this article I am going to show you exactly how to do this. Ready?
Neutral, Grey and Other Colour Mysteries
Hold on there! Let me explain a few important colour mixing terms. First off there are three qualities to colour.
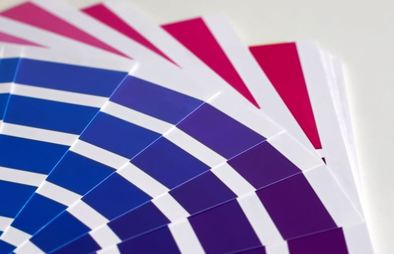
Relationships - You must assess each colour in relationship to another colour. For example a colour is lighter or darker when compared to the colour next to it. Temperature - This is a big one. You must try to see each colour's warmth or coolness to the colour next to it. Only by doing this can you adjust the colour mix accurately. Check out these resources to master colour temperature. Neutral or Grey Colour - This is the term for a desaturated colour. It does not mean white mixed with black. Of course the colour is not actually grey, most of the time, but what name do you give it? Golden Goddess and Gigi Come to Play No these are not my dodgy friends, but rather names given by a paint manufacturer to neutral colours. Pop down to your hardware store and pick up a few paint swatches. Look at the colour and the names given to them. Funny right? So can you mix some Gigi on your palette? Not very easy. But can you mix a dark, cool shade of blue colour? No problem. Here is how to start mixing neutrals fearlessly. This is a big deal. From this point forward. For the rest of your painting career, mixing colours will be a logical process. The Swatch Method This method is a fun exercise that you can practise in the comfort and privacy of you studio. Much better than colour theory from a book. Step one involves a visit to your hardware store. Pick up selection of paint swatches. Any from reds, yellows, greens, blues and browns. Do not buy a new barbecue or cordless drill. Focus. Step two is to cut off a selection of the swatches and stick them onto gesso primed paper or painting panel. Not a lot. One or two swatches is enough for today. See details in my video below. Step three is to squeeze out some colours onto your palette. Ultramarine blue, alizarin crimson, cadmium yellow lemon and titanium white are the basics. You can add cerulean blue and cadmium red light if you want. Ues a palette knife for mixing. Make this a long blade with a rounded tip. Not a tiny palette knife. This is not micro surgery. Have plenty of tissue paper ready to wipe your palette knife clean. Do this often to keep you mixes clean. Question Time 1. Okay now pick one swatch and ask yourself what is the hue of that swatch? Does it look green, yellow, red or something like that? What basic colour name does it lean towards? Country Revery, for example, is a type of green. I am not telling you what Gigi looks like. So now you have the hue. Green. Now you can mix green with ultramarine and cadmium yellow lemon. 2. Now what is the value? At a glance you will know if it is fairly dark or light. To make your mix darker add more green. To make it lighter add white. Take some and smear it next to you swatch and ask: lighter or darker? Adjust where necessary. 3. Now what about saturation and temperature? With neutral colours the first mix of yellow and blue make a highly saturated green. Intense. You need to knock this intense green back a bit. Do this with a little red. Alizarin a a cool red and cadmium red light is a warm red. These options might suggest a direction already towards warm or cool green. But take it easy with the reds you add as they can take your green mix towards brown. If this happens just add more green or yellow and get the green back. This is the important thing to remember. You can always get back on track by adding colour. No need to panic. If you have gone too far one way then add the other colour and bring the mix back again. Temperature Adjusting When mixing neutrals the fine tuning involves adjusting temperature. This is where the most anxiety and stress happens. I have seen students freak out over this. Sometimes even tears. But no more, because all you need to rememebr is this. Want it warmer? add more warm colour. Want it cooler? add more cool colour. Too intense? add the complement and white. For example the complement of green is red. For yellows it is violet or purple. For blues it is orange. For reds it is green. And so on. White Paint is Tricky White has many functions. It adjusts value to a lighter shade. But it also cools a colour down by desaturating it. So you may have to warm the mix up by adding back a little pigment. Too much white and your mix can go cold and chalky. White therefore plays a role in vlaue adjustment AND desaturating colour mixes. Top Tip: Not sure about neutral colours? Remember that these desaturated colours actually make your painting more colourful. Sounds counter-intuitive, but it is true. By using neutral shades you can emphasise the colour next to the neutral. For example yellow sunlight next to neutral gray / violet clouds. See more about how to add more colour to your paintings using this method. Follow the Process to Reach the Destination By following this three stage process and asking the questions: lighter or darker? Warmer or cooler? You will reach the colour you want. Always compare to the swatch as you go and ask the questions. When your mix is as near as dammit you are home. Congratulations! Want to play again? Want to read this offline? Download the PDF
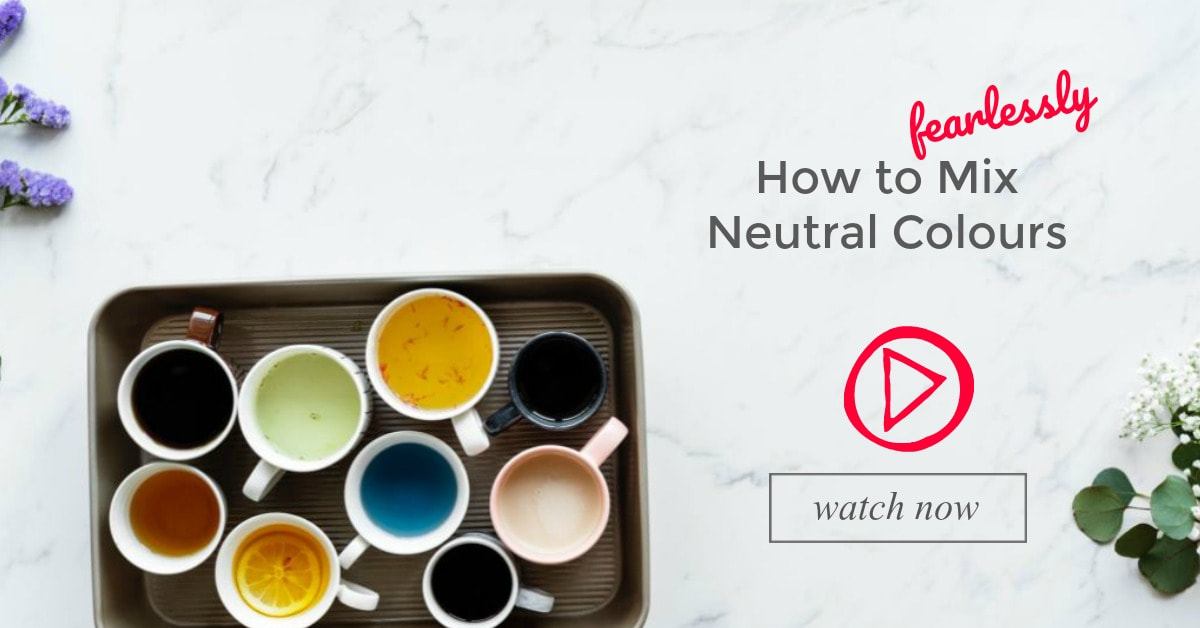
Now watch the video and see this in practice:
|
AuthorMalcolm Dewey: Artist. Country: South Africa Archives
June 2024
Categories
All
FREE
|
||||||
|







 RSS Feed


