|
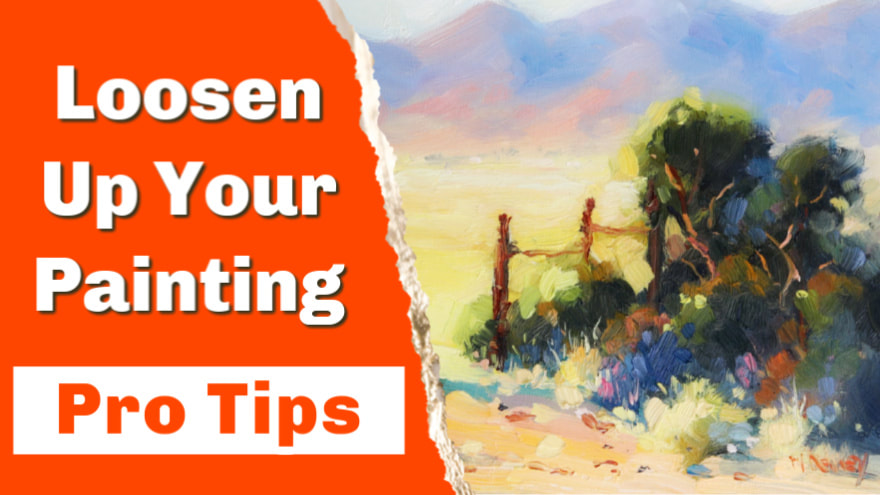
When I suggested upping the size of your paint brush a few weeks ago I did not expect the short video lesson to be that popular. After all does a bigger paint brush really make a difference, you may be asking? Oh yes it does. A lot. But what then? Is that all it takes to get the loose Impressionist look you want?
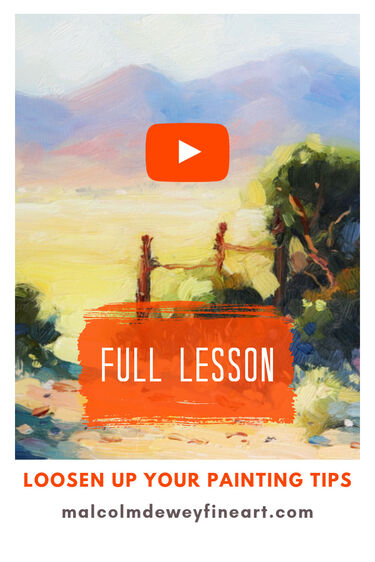
There is more and this post, with video, will show you exactly what you need to do right now.
Want to Listen to this Article?
Number One: You Got the Brush, Now What?
Why is it so difficult to master the big brush approach? It is how we grew up. What did we get as kids to keep us quiet? A box of watercolors, a coloring book and a little brush. Of course I am giving my age away here because today kids are watercoloring on tablets. But you know what I mean. So little brushes and coloring between the lines is how we grow up. Then there are those Old Master paintings where hyper-realism and blending is the name of the game. Plus because they were damn good at it the paintings are utterly compelling. We must copy them or else our paintings are rubbish! Thankfully the Impressionists gave us anarchists an outlet. We can paint with blobs, smears and broken brushwork. Close call! I digress. Most beginners are firmly within the little-brush-between-the-lines school of painting. Breaking that habit takes practice and many dodgy paintings. Do you have the fortitude to endure this messy transition? I hope so. To remind yourself about the big brush approach watch this short video. Top Tip Number Two: Use More paint You got the big brush so why fiddle with a little paint? Granted you may be eking out precious paint during lockdown (never thought I would ever write a sentence like that?) But there is a way to save paint and still use a lot of it. More of that below. For now use your brush to scoop up paint. The bristle brushes are ideal for oils. Also a long flat brush offers more in this department too. Excellent value for money. A long flat bristle number 8 will do the trick for most beginners. So scoop up the paint and then butter it onto your canvas. Or dab it as the case may be. I forgot to mention that you first need a generous pile of paint on your palette. Please do not push your brush over thin smears of paint hoping to get enough that way. That is a sure recipe for dirty color notes. Always have a fat blob of paint on your palette ready for scooping up. See here for tips on using thick paint better. Now once you put that good bit of paint on your canvas leave it alone. I’m begging you! The urge to smear it away will be overpowering at first. But please leave it and move onto the next part and get a nice dollop on there too. This is training to break habits of old. Persist. How Much is Enough? Expect to take this slowly. At first you feel that your paint application is getting more generous. But it will not be overnight. I can see this in my old paintings. Still tentative, but loosening up. What you want to see is thicker paint in the sunny parts. Also the focal area. The shadows can be thinner. The unimportant parts of the painting are also a little less prominent with paint, edges and so on. See some examples in my gallery. When you look for the thick paint you will note a distinct ridge between the thick and thin areas. Also distinct bristle marks. This texture and thick and thin variety is lovely to look at. It fascinates collectors. It beguiles artists. For good reason too, because it is a real battle to master the technique. Bonus Skills Acquired You may not realise it but getting the big shapes and thick paint techniques worked out will have another benefit. You will learn the way to simplify subjects into shapes of light and dark and warm and cool color. This is a huge step. With this skill you can paint any subject. Landscape, still life or portrait it does not matter. All of them are made up of these shapes. Canvas Size Saves Artists I am repeating myself, but it must be said. The only way to learn about big brushes, thick paint and shapes is with smaller supports. Panels are ideal and cheap enough to allow you to use many. The 10”x12” or even a 6”x 8” will be ideal. Too small you say? Look what master artist Kevin MacPherson achieved with teensy 6”x 8” panels in his series called Reflections on a Pond. Stunning. Plus you can use a lot of paint without depleting your stock too quickly. It takes relatively few big brush marks with thick paint to complete a small painting. A win all around. Speed Thrills Drive slowly. Paint quickly. When you start on a small painting, set yourself a reasonably short amount of time. Aim to complete the painting in one go. We call this alla prima so it’s okay. Go for it and paint with calculated vigour. About one hour could be enough for a 6”x 8” painting. I have found myself somewhat breathless with the sheer exertion from the concentration required to do this. It is thrilling and utterly engaging. You will develop so much this way and steadily hone all your skills. Just Do It What I am advocating is not a shortcut nor an invitation to paint sloppily. You still need to follow good composition, clean color notes and many other techniques for quality work. However once you start to see results you will also note that you have a style of your own. Every person's brushwork develops into a unique signature. This is automatic and beautiful to behold. Having said that your style will evolve as you gain mastery, confidence and improve your technique. But your work will be recognisable as from your own hand. That is what I mean about style. This is not the same as turning out tentative blended away paintings. You are now at a different level. Onward. See the New Painting Courses
Pin for later ...Free PDF Guide (Download)
|
AuthorMalcolm Dewey: Artist. Country: South Africa Archives
June 2024
Categories
All
FREE
|
|






 RSS Feed
