|
Is a work in pastels a drawing or a painting? I have come across this debate many times. It depends and I tend to leave it at that. Are you doing a line drawing or are you applying layers of color? The latter would be a painting as far as I’m concerned. In a recent work it struck me that the techniques I was using reminded me of painting. Except I was using a dry pigment instead of wet. Aside from that difference I was going about it in the same way as a painting.
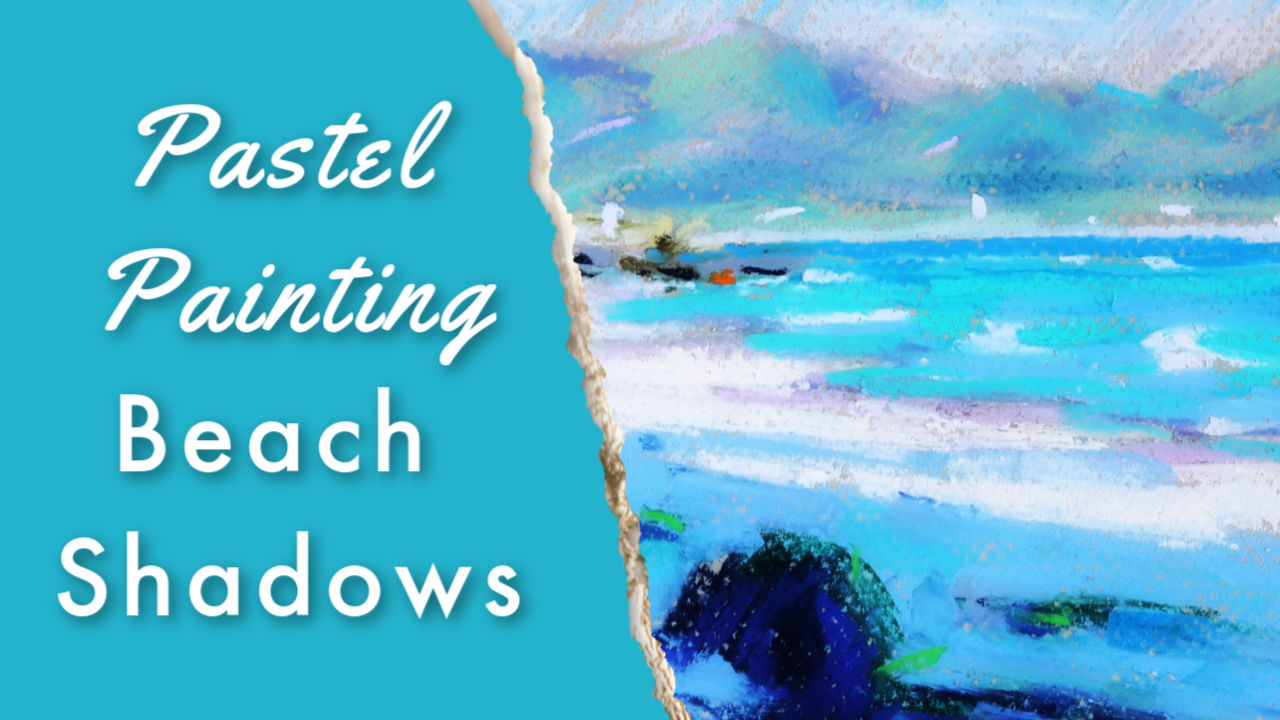
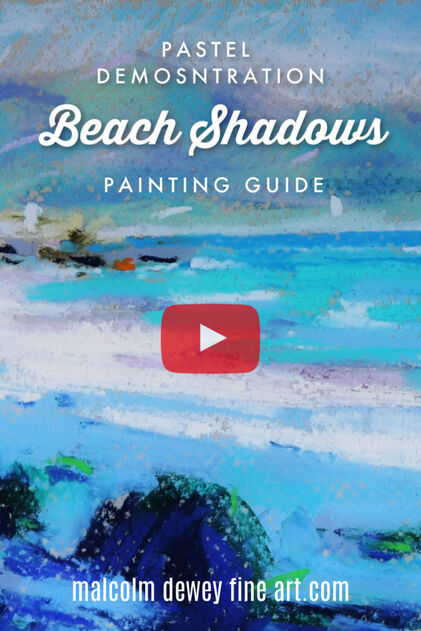
In this article and video I am going to demonstrate how you can paint a beach scene using a few pastel techniques.
What Are Pastels?
This is perhaps the root of the debate. Pastel are dry sticks of pigment held together with a binder. At first glimpse you would say they are a drawing medium. But consider that they are intensely rich in pigment (the artist’s quality ones) and there is very little in the way of fillers or binders to hinder that. Next is that soft pastels are quite thick. Not like a pencil for instance. Some are very thick like Unison pastels for example. The result is that the pastel makes a big mark similar to a brush mark, if you wish. Pastels can also make fine lines like a delicate brush-mark. In short you can make painterly marks with pastels much as you can with brushes. Add to this the vibrancy of pastels and their attractive appearance you would be forgiven for grabbing them like a child in a candy store. Above all though it is the ease of use and rewarding appearance that make pastels a must have medium. Which Pastels? You will find several options, but I prefer soft pastels for painting. Several brands do a good line in pastels. I have built up a mixed bag of pastels over time such as Unison, Sennelier, Rembrandt and Koh-I-Noor. All provide excellent color and workability. Looking for the best pastels in the world? You may be looking for Roche pastels made at La Maison du Pastel in France. Pastel makers since the eighteenth century. They supplied master like Edgar Degas. Watch this video for a glimpse into the world of pastel making.
Pastel Techniques
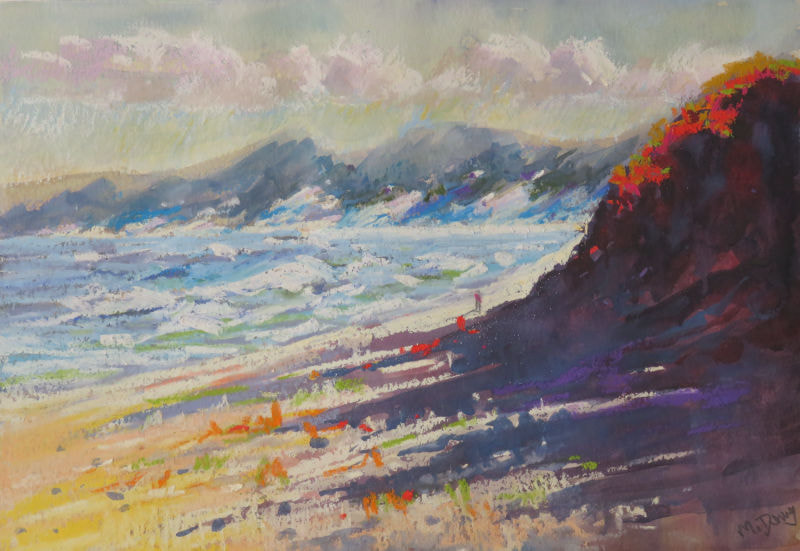
When it comes to painterly pastels there are a few techniques that I rely on. You will note these in the video below. I like to make marks in the form of lines or strokes with varying pressure. I will usually cross hatch the lines with different colors to build up layers. These strokes are similar to my brushstrokes. A way to build up layers from thin to thick. Also to create an interplay of colors or values. Another technique is the broad stroke to create strong highlights. More of a final stroke of color than a light build up of layers. You will see these strokes in the video when I paint in the sunlit beach. Then short dabs and dots and curved lines, much like commas, add variety of shape and accents of color. Accents can be light or dark, but are always contrasting in color or value to create pinpoints of interest. Under Pressure Do not be afraid to apply the final strokes with some force. It is a fine line (excuse the pun) between just enough pressure and breaking a pastel. I will hold the pastel close to its point to avoid breakages. The result is worth it though when you create the vibrant color notes. Keep in mind that you are not desaturating the pigment with mediums. The color goes on pure and strong. Sure you will use neutral colors for aerial perspective and other effects, but those colors are also fully saturated. Pastels are powerful. The risk of breaking or crushing soft pastels remains a problem though. With practice you will find the sweet spot that works for you. Avoid timid painting and you will see the benefits. Rather push the medium where appropriate than ending up with a half-hearted result. Painting a Beach Scene For this demonstration I selected a lovely scene with strong light and dark contrast between sunny beach and long dune shadows. This is a good tip to remember when choosing a beach scene. Work in early morning or late afternoon so that you get nice shadows and warm light. The alternative is bright washed out light and that can leave you with a bland scene. Pastel Process I prefer to start the painting with a brief line composition setting out the big shapes. When painting in oils I prefer to scrub in dark mass shapes first, but with pastels a more methodical approach works best. Once the composition is settled I will work mostly from top down. Sky then mountains and so on. Then go back over the entire work to emphasise the important focal areas or light effects. The final steps are to add accents of light and dark. Those dots and dashes that add spark and zings of color. For example the little zings of orange that may suggest rocks. I am thinking of the blue/orange complementary colors working nicely together. Color Tip This does remind me of a handy tip to use. When your painting has a very dominant color scheme you can balance things out with a few sharp notes of complementary color. But make sure there is one is dominant. For example in this painting where blue is dominant. A few little sparks of orange make all the difference. Same applies where you have a lot of green. A few sparks of red makes the entire scene better to the eye. Mixing Color with Pastels Since this is not a wet medium it poses a challenge when you want to mix colors. Although pastels come in many shades and neutrals to compensate you will still need to mix colors. The technique of laying in color with spaced lines is a good one. You can then add different color into the spaces and so build up an interesting color surface. Think of it as an impressionist technique of laying color notes alongside each other. Of course you can overlap colors and go over other colors. Be careful not to overdo it as your paper will fill up quickly. You can also dull down your colors and find that you cannot add any more pigment to fix this as your paper is clogged to maximum. So take a moment to stand back and look at the painting and assess before adding more layers of color. Pastel Paper This leads me conveniently to the subject of pastel paper. In this demonstration I am using 160g Canson M-Teintes pastel paper. It is textured with a soft honeycomb surface. You will note that I can get quite a few layers of color before the texture is full. You can also use cold pressed watercolor paper or a lightly sanded pastel paper. The latter is like a fine sand paper that takes a firm grip on your pastels. Lovely strong color notes are possible with this sanded paper, but it does use up pastel quickly too.
Pastel Painting Care and Framing
Although I love using pastels there is one thing that does bug me a little and that is taking care of the final work. A pastel painting is delicate and pastel powder can fall off or get smudged easily. A spray fixative does help. But even so you need to get the painting framed behind glass to keep it safe. Storing the painting in your sketchbook is tricky even with tissue paper to minimise abrasion. Rather keep the painting lying flat somewhere safe and away from moisture, bust or curious fingers. Then frame it. I have used different methods to frame pastels. In one version I do not use a matte board, but instead I use spacers behind the glass. See this video for more on this method. Mostly though I will use the matte board approach and the results are still great. I hope this introduction to pastels inspires you to try them out for yourself. Also you can see how a small pastel sketch, shown in the video, can result in pleasing results. It does not take much time either. Perfect for a happy hour or two of unwinding on the weekend. Enjoy. Learn how to use pastels in multimedia: Learn morePin for later: |
AuthorMalcolm Dewey: Artist. Country: South Africa Archives
June 2024
Categories
All
FREE
|
|




 RSS Feed
