|
Plus a review of Daler Rowney’s Cryla Acrylics brushes
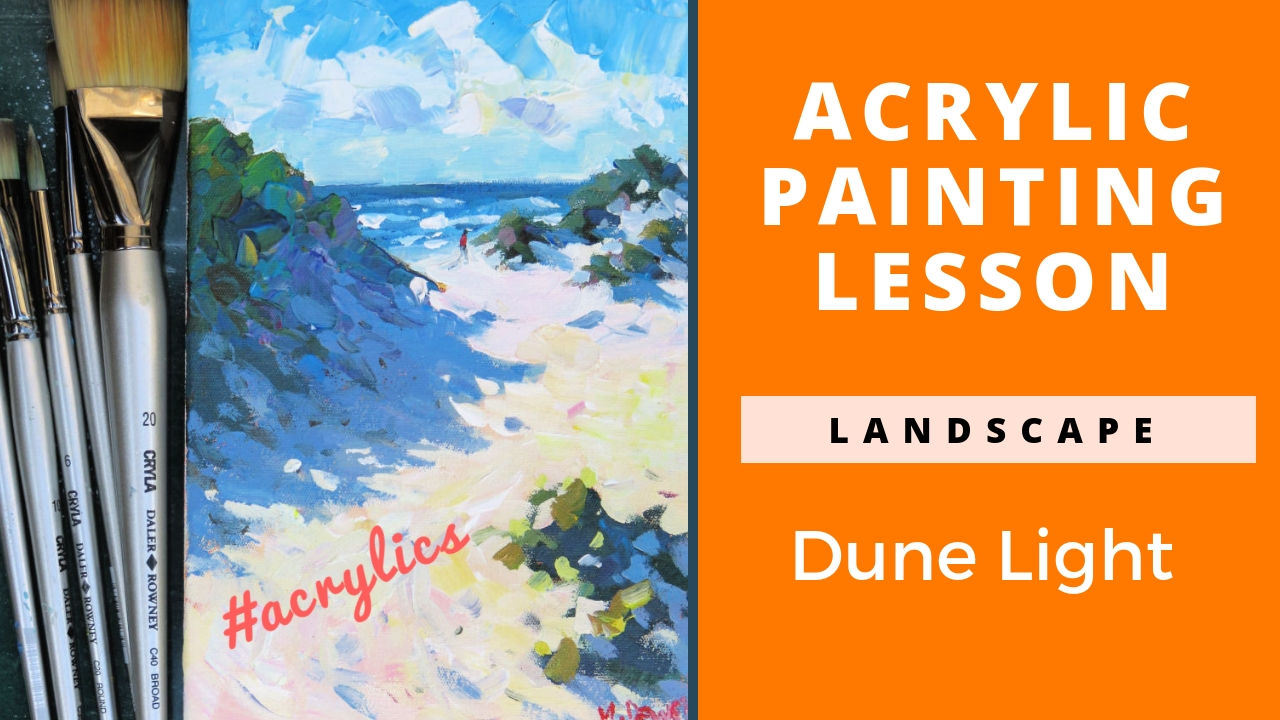
Acrylics are a popular painting medium. The benefits of quick drying time, cost effective paints and water based safety issues has made acrylics increasingly first choice for beginners. Plus more professionals are using acrylics for contemporary paintings. In this article I am going to show you how to paint a light filled beach scene (see video below). Plus I am using new brushes from Daler Rowney and Art Savings Club. Let’s jump in! What Acrylic Paints? I am using Amsterdam Standard series of acrylics. This is a student range of acrylics made by Royal Talens. I have selected this paints range for my course, Acrylic Painting for Beginners. The paints are above average student quality, affordable and thick enough in texture to allow for knife painting too. If you want artist’s quality then the Expert range is also available. But for now the Standard Series will be fine for beginners. Ideal Acrylics Brushes Brushes are a bugbear for me as I struggle to find a balance between quality, price and availability. However with the Cryla range from Daler Rowney I may have found the answer. I recently took delivery of a bunch of these brushes from Art Savings Club. After a few weeks of painting I have to say these brushes have exceeded my expectations. The brushes are well made and come in an attractive metallic silver colour. Ferrules are top notch as well. Handles are long and this suits my painting style perfectly. But the business end of these brushes is what really matters. The synthetic bristles have kept their shape despite some fairly hard usage. Not a whisker has fallen out and there is no sign of splaying. I also find the bristles to have excellent spring. They pick up juicy globs of paint with ease. But when I want fine strokes and blending the brushes do not skip a beat either. I am waiting for something to go wrong, but so far these brushes are performing well. You can see them in action in the video below. Brush Care A quick tip here to ensure your lovely brushes stay that way. Instead of using jars of water to clean your brushes use something flatter. Like a plastic salad bowl-type-thing. You know those bowls you put into the fridge? Preferably with two or four compartments. Just don’t use anything expensive (I’m talking to the men here) or you could regret it later. The beauty of this approach is that two compartments are partly filled with water. First wipe excess paint off the brush with tissue. Then wash in compartment one. Then rinse off in compartment two. Then lay the brush down in the empty compartments so that the brush does not stand on the bristles. This ensures a long life for your brush. I find that even acrylic paint traces from dirty water can ruin a brush. So best to rinse it in clean water too. Tip 2: Wet your brush before using paint. This keeps paint out of the hairs near the ferrule. Light Filled Paintings This demonstration shows a simple approach to achieve the illusion of light. Too often beginners fuss over drawing, but forget that paintings are usually about light. This means two things to me:
Notice the big thing in common? Yes it is called contrast. This is what makes us humans see things. Contrasting light against dark works like magic. Second thing is we notice complementary colours working off each other. Green and red, orange and blue and yellow and violet are typical colour schemes that get our attention. But remember that one colour must dominate. In this lesson I use the violet and yellow relationships to catch the eye. It is a pleasing combination. Restful yet interesting too. Of course the contrast between dark shadows and sunlight on the white sand is a big part of this too. Why do so many beginners forget about adding in shadows? Not sure why this is, but it is a must to achieve that sunny look. Add Loose Colour for Interest You will notice that the composition is simple. Lead the eye into the painting with a pathway. No need for anything complicated. A typical error is to add extra fiddly details. Branches, twigs, leaves, stones and maybe a stray bird. All of that bare sand must be covered with stuff right? No. Instead of details try to suggest things that engage the viewer’s imagination. People have wonderful imaginations. When you look at vague shapes in the distance your mind tried to fill in the details. Variety of subtle colour shifts in the foreground? Your mind says those are footprints. A few dark accents in the shadows? Your mind sees stones or logs. On it goes. The variety of colour temperature shapes can suggest many things. So fill in empty space with vague shapes and you could do more for your painting. Paint in Layers A final tip is to think about building up your layers of paint. Notice in the video how many layers of paint I use. Often I will use a painting knife to add texture and depth or interest to part of the painting. Acrylics can be thin if you use one layer. Beginners often stop after the first layer. Happy that they have a drawing of something approximating the reference. But acrylics demand more. They are begging to be layered to achieve a generous and juicy look. With quick drying paint this can be achieved easily. Notice how the brush is held. Not like a pencil that digs in. Rather parallel to the canvas to float over previous layers. This way new paint can be applied gently over existing wet paint. This one tip will transform your painting if you have never tried layers before. Take the Course on Acrylic Painting:
Want to learn much more? Check out my course Acrylic Painting for Beginners and grab a nice discount too.
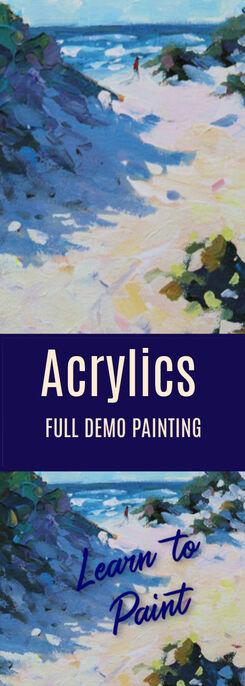
For Your Pinterest Boards:
|
AuthorMalcolm Dewey: Artist. Country: South Africa Archives
June 2024
Categories
All
FREE
|
|


 RSS Feed


