|
Good quality photos of your paintings are essential. Perhaps you want to sell your paintings, show your portfolio or record your progress. In each case a photo should carry this off to best effect.
A photo for the internet should meet the following basic requirements:
A consistent procedure will allow for consistent results. Everyone has their favorite approach, but I can give you my own version. I don't say this is the best way, but it is simple and gives good results. Equipment:
Good Lighting is Critical. Let us look at this in more detail.
My favorite set-up is to lean the painting against something in an upright position. This is on top of a patio table under an awning outdoors, large enough to keep direct sunlight off the painting. Time of day is also important. The best times are early morning and later in the afternoon. The light is softer and warmer. Avoid the harsh light during the middle of the day. Also cool overcast light is not particularly flattering. I want to avoid photoshopping the image too much so choose soft warm sunlight conditions. Then place the camera on a tripod and lower the camera so that it is facing the painting front on. Not looking down at an angle. The latter approach will distort the image. You want it square to make cropping easier. Make sure the image is in focus. "It will do" is not good enough. Aim for perfect focus. Check the image preview before you pack up your kit. Nothing ticks me off more than discovering out of focus pics after I have packed up. Editing: I prefer to copy the image in jpeg format via a memory card reader to the computer. Save the original image in a computer folder dedicated for original images only. Save the final image in another folder. I prefer the original file to be large. Usually around 2mb. This makes it possible to print an A4 print or even an A3 print. Perhaps I can make a poster or sell a print later on. Also cropping for details in slideshows and so on may be required another time. Keep your options open. Organised folders become important once the number of images grows. It also makes the entire process go quicker. Finding the photo also is easier. Be organised from the start. Oh, and remember to have a backup. Store images on Dropbox and Google drive for free. Bigger folders will need an external drive. Software. There are many options, but I seem to have bad luck with imaging software. It is either too complicated or crashes after a while. Besides which I am not trying to create fancy effects. The photo must look like the painting. Basic editing features will suffice. After much trial and error I have settled for the paid version of Picmonkey online. Editing Basics:
The photo should now be ready for uploading to your website gallery. A few tips:
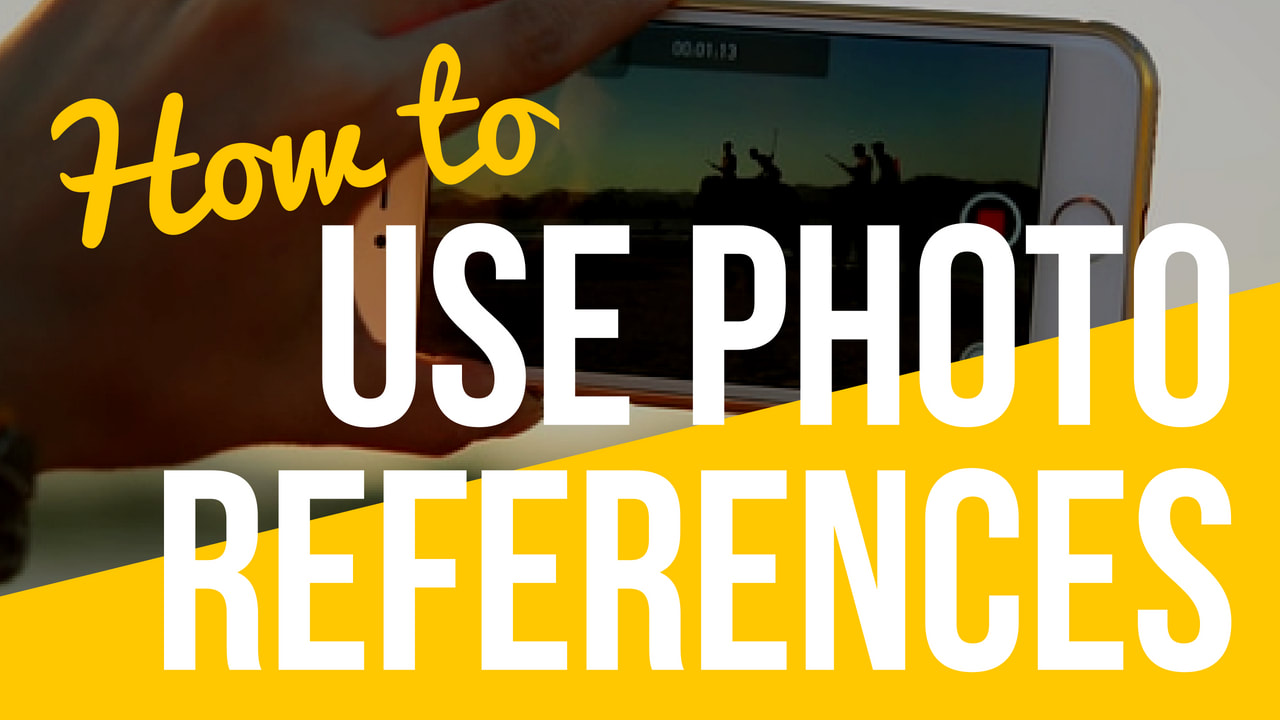
Visual Content Marketing Guide I cover this aspect is detail in my book, The Art of Content Marketing. SEO can be bit daunting at first, but maybe your website caters for image description without any specialist knowledge? In my case I can add a description in a handy "text box". A description like East Beach Port Alfred oil painting by Malcolm Dewey is better for SEO. It helps that you have saved the file with a full description. Plus a caption under the image on your website also helps with SEO. Social Sharing: Once uploaded remember to make the image shareable on Pinterest and other media channels. Add a pin it button or use a service like Add This. This service generates a pin-it button when you scroll-over the image. Of course you should pin the image to your Pinterest board and share it to your own social media. By the way let's meet on Pinterest too - join me on Pinterest here. Last but not least. Backup your images. Cloud based services such as Dropbox make this easier, but you will probably need a paid version once your size limits are exceeded. Still it is a bargain! Also use an external backup drive that automatically runs once a day. Something like a 3 terabyte drive to backup your documents. Better safe than sorry. Phew! Quite a job after all, but necessary. Images are such an important part of our lives as artists, entrepreneurs and marketers. Do your best with images and they will pay you back. For more on your visual content try my book on visual content marketing. There are also a few excellent courses on taking better photographs like this one from photographer Bernie Raff. Have a go! My basic approach to taking photos of my art:How to Use ReferencesPin and share this image to your Pinterest boards: |
AuthorMalcolm Dewey: Artist. Country: South Africa Archives
June 2024
Categories
All
FREE
|
|



 RSS Feed
