|
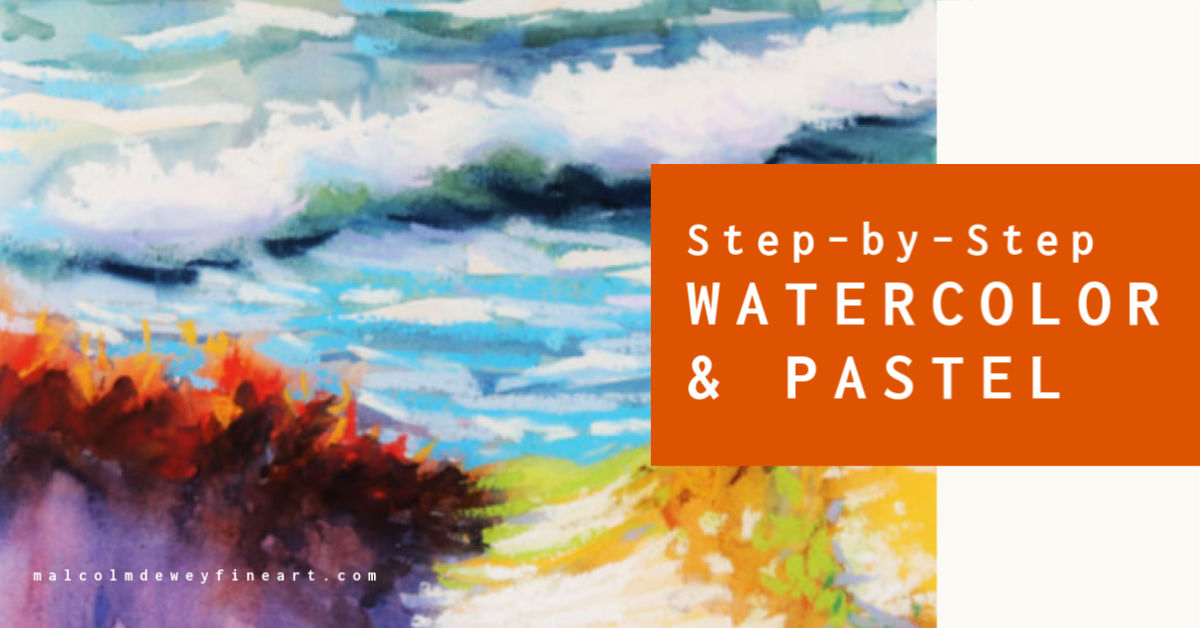
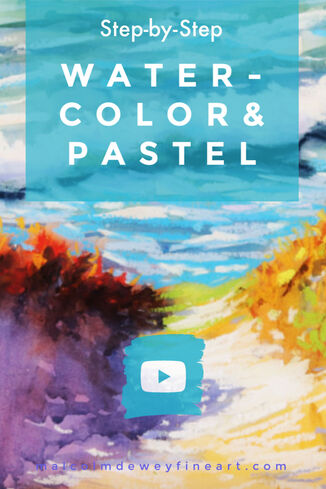
Is two better than one? In the world of mixed media it usually is and my favorite mixed media combination is watercolor and pastels. In this article I will show you a ten step approach to painting a light filled painting in watercolor and pastels. There is also a slideshow of each step to help you.
Let's get started.
Watercolor is Tricky
Although often selected as the beginner’s medium of choice watercolor is not easy to use. In fact watercolor is rightly called a master’s medium. Despite this watercolor does have a certain magic of its own. Especially since the most beautiful effects seem to reveal themselves a while after you have stopped painting. My usual medium is oils and I do love the strong vibrancy and texture oils provide. It seemed a natural step to add vibrant pigment to watercolor by applying pastels over dry watercolor. Especially if you prefer a loose style of painting. Sketches and impressions are ideal for this approach. Pastel is Versatile Beautiful on its own, soft pastels also look great when combined with other media. In this case I am using pastels extensively with watercolors. You can use pastel pencils, sticks and pan-pastels too. My preference is soft pastels such as those made by Unison, Rembrandt by Royal Talens or Senellier. However any good quality soft pastel will do the job. A starter set of landscape colors will be sufficient for most basic projects. Add new colors as you require thereafter. Other Materials: Good student quality watercolors in tube or pan form will be fine. Mop brushes are ideal as they can be used for details and broad strokes. I prefer cold press watercolor paper (300grams) as it is textured and does not buckle. The texture takes more pastel layers too. I also tape the paper onto a board with masking tape. No pre-stretching is required with this type of watercolor paper.
Demo Painting: The Wave
Now let us begin with the demonstration. I have selected a seascape that includes sand dunes leading down to the sea. Strong shadows and interesting wave shapes. All of my favorite subjects. Step 1: Watercolor Wash I start with a rough pencil sketch of the composition onto the paper. Preferably you have done a few smaller sketches of the scene in a notebook to plan the painting. If not then spend a little more time checking your pencil drawing to make sure you have all the main shapes included. You have the option of reserving whites with liquid latex. Alternatively wipe these areas with tissue paper before the watercolor is dry. You will also be able to use white pastel to emphasize the lights. I then go straight into a warm wash of deep yellow to give the paper a warm tone. This also lightly wets the paper and it will slightly stretch the paper too as it dries. I therefore let this first wash dry before going further. Step 2: Once the first wash is dry I start the painting with a block in of the big shapes. Keep in mind that several layers of watercolor will be applied to get the desired richness of color. Then the pastels will be added for extra effect. Therefore do not try to get the perfect wash of watercolor in this first stage. Rather build up color with thin washes. This is a good habit with watercolor as mistakes are difficult to remove. Pastels help to remove mistakes, but there is a limit if you want to avoid an overworked look. Step 3 and 4 Now for the lovely shaded dune. This dark and mysterious shadow will make the light filled areas pop. My typical colors for shadows will be a cool purple, blue and alizarin combination. I prefer to add these in successive washes to achieve a rich, deep shadow. Let the water run as the colors will intermingle for best effect. Step 5 After some deep yellow to suggest sunlight in dune grass on the right of the painting, it is time to work on the focal area. The wave. With washes of greenish blue made up of ultramarine and yellow I build up a dark layer along the face of the wave. This dark shape will contrast beautifully with the white foam above it. The result should attract the viewer’s eye to the focal area. Step 6 Build up layers of color on the flat surface of the sea. These areas pick up reflections from the sky as well as receiving direct sunlight. So I use touches of sky blue, small shapes of broken color and white highlights to suggest moving water. Swift brush-marks from left to right build up this impression. Step 7: Now with pastel start to add the light shapes on the waves. White, off-white and violet pastels are used to create the foaming tops of the wave. When observed closely these shapes contain many shadows too. They are not simply one white highlight. A variety of subtle color shifts provides a realistic impression of the frothing wavetops. Step 8 Once I am happy with the wave shape I return to the sand dune. This time the light, sunny portion needs to be completed with off white and white pastel. Note that I am applying the pastel in short strokes. The pastel is not smooth or blended. I also let the watercolor show through in between the pastel strokes. This is a feature of this multimedia approach. Watercolor and pastel contributing to the overall effect. Applying pastel in strong strokes, dabs and twists creates texture and vibrant color notes. Also leaving gaps between strokes means that there is space to apply pastel in another color if necessary. Perhaps to vibrate one color, like violet, against a light yellow color. Step 9 Revisit the shadow of the dune with another wash of blue and purple to darken the shadow. Also note the strong red pastel applied to the dune grass above the shadow. This adds a nice zing alongside the cool shadow color. Step 10 Assess the painting. Look critically to see what final touches are required to bring the whole painting together. I add a few touches of light in the shadow. A few cool dabs of violet pastel in the sand to suggest footprints. Little things, but not too many. Then when you are happy sign it off. The Final Result: A painting with a variety of light and dark and warm and cool shapes. Overall a satisfying impression of the beach scene. Energy, color and movement. Plus the interplay between the enigmatic watercolor and the powerful pastels. Now it is your turn to try out this multimedia approach. If you want to learn more about painting in Watercolor and Pastels then you may want to view my course on this topic: Watercolor and Pastels for Light Filled Paintings Pin for later ... |
AuthorMalcolm Dewey: Artist. Country: South Africa Archives
June 2024
Categories
All
FREE
|
|







 RSS Feed
