|
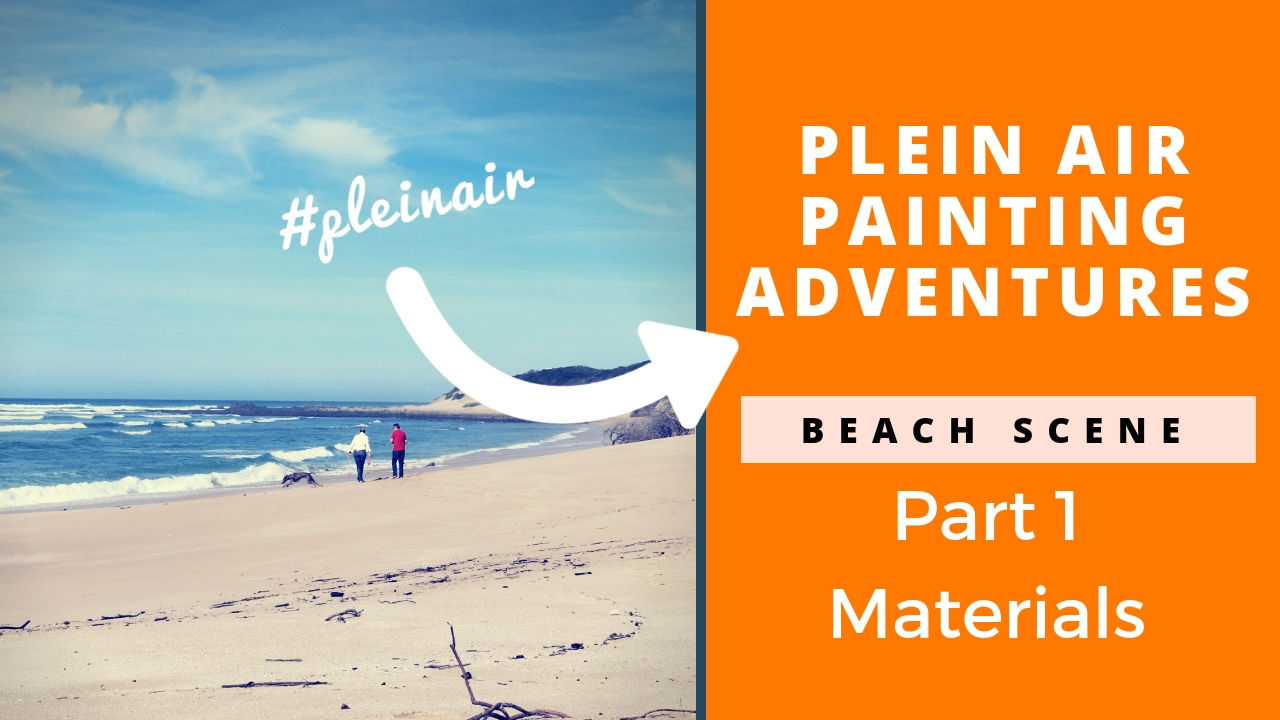
What do you need to setup your plein air painting adventure? Glad you asked because in this three part series of videos I am going to show you exactly how. First we look at the materials you need to make a go of your plein air painting. Then we take a little trip to the beach to paint a study in oils. Then back to the studio to consider the painting. All in all plein air painting is a delight when you have the basics in place. So let's dive into the world of plein air.
Your Plein Air Setup
You do not need a lot of extra materials for outdoor painting. You could use exactly what you already have. It can be as simple as that. The extra items I discuss here do make life easier though. It is important that you are not struggling to paint outdoors. There is enough to focus on with your painting. The last thing you want is to fight your materials and become frustrated. These extra items involve:
Transporting Your Plein Air Kit
To move your materials safely and easily means having just enough luggage to carry to your painting spot. Note I am talking about a simple day trip. Not a hike into the wilderness for a few days of painting in the backwoods. For a day trip you need one bag that can carry all your kit. I use a large backpack that has several compartments with large zips for easy access. See this in the video below. Supporting Your Paintings Long gone are the days when Impressionists carried a studio easel outside and tried to secure a large canvas to it. Today we are spoilt for choice. You can use the French easel. This is what many beginners envisage when they first consider outdoor painting. But the French easel is big and heavy. Instead look for a small painting box. One that can take a 10"x 12" (20cm x 25cm) panel. A painting this size can keep you occupied for an hour of pleasant outdoor painting. In the video I show you my converted painting box. Very simple to make and cost effective. Alternatively you can purchase a pochade box purpose built for outdoor painting. These can be fancy or minimalist. The more features they have the bigger and heavier they get. I suggest light and compact should be your guide. In truth there is no need for expensive aluminium wonders of engineering. But you decide what works for you. Other than portability you want a secure base for your painting box. Perhaps sitting down with the pochade box on your lap is all you need. But if you prefer to stand then a tripod is best. Pochade boxes come with a tripod screw in place. But does the box fit snugly? It is annoying if you painting box dodges and weaves when you touch it with your brush. Some small boxes have the mounting screw on the lid to keep the lid and painting steady. Most boxes have the mounting screw on the base. Both methods work, but ask for a demo at your art store if possible. As far as paints, brushes and mediums are concerned. Your minimum required items that you want are sufficient. You know what you typically use so take that. You will soon figure out what are unnecessary through trial and error.
Storing Your Finished Work
A commercial pochade box will often have a compartment for storing a couple of paintings. Sometimes these compartments are poorly made. The best solution is to have a wet panel carrier. These can take a good deal of panels safely. I often leave the paintings in the carrier to dry safely too when I am back at the studio. The cheapest "in a pinch" method is to use four spacers, like match sticks, to keep the paintings apart. Then sandwich them together and bind them securely with elastic band. The matchsticks keep the wet surfaces from touching each other. Not ideal but it can get your paintings back relatively unscathed. Comfort Items In order to focus on your painting you do need a few comfort items. Sunny weather demands protection for you such as a hat and sunscreen. Then keep sun off your painting and palette with an umbrella. Alternatively find a shady spot under a tree or similar. If you use an umbrella this means avoiding windy conditions. Alternatively a way to secure your umbrella against strong breezes. Then food and drink. Whatever you need in the line of convenient items. But water is important. Never let yourself get dehydrated. Suitable clothing to keep warm or cool depending on circumstances. Do you prefer to sit or stand? If the former then a light chair will be required. Have a think about these items. Experience will help you iron out your list of essentials. Each outdoor painting is like a chapter in my gratitude journal of life. Start Painting and Feel Confident As you will see from Part 2 and 3 in the videos you can paint with relative ease. Getting started is the main thing. Once off and going you will get to enjoy the painting process. A bit of preparation is an easy way to get over the jitters on your first excursion. Take a look around your painting spot. Assess a few compositions. Make a few notan sketches. Take photos for future references just in case. Then start painting. Get out your big brush. A size 8 long flat perhaps and start blocking in the mass shapes. No need to depart from the usual process. Stick to what works and work quickly. Take note of shadow patterns in the scene. Put them in early on as shadows move quickly. This reminds me that close observation is vital. Really look at your scene and note shapes, colors and atmosphere. You will need to feel the scene to communicate it effectively in paint. The video above demonstrates this process. Aside from that I want to emphasise attitude as well. You may find yourself tense at first. Painting outdoors can be intimidating for beginners. Trust me this will pass quickly. If you feel uptight you will paint tight. You may feel that every brushstroke is awful. Colors are muddy and onlookers are laughing at you. If you recognise these symptoms take heart. These are normal and are all imaginary. You can paint. People are simply curious and mean well. You have this sorted. Now take a deep breath and follow your process.
What Happens When You Finish?
In the final video I try to finish the painting with more layers of paint. My main concern is to get a feel for the scene. I am not thinking of a gallery piece. Sometimes an outdoor painting is perfect as it is. Mostly though it needs a little work back at the studio. I try to be careful not to repaint it. If it is poor then so be it. It is still a tick in the "experience column" and that is good. Most of these paintings are reference works for me. They remind me of what is important in a scene. I also remember the joy of the moment. What a privilege it is to be able to see and paint beautiful scenes. I must remember to be grateful. Each outdoor painting is like a chapter in my gratitude journal of life. Start your own painting adventure.
Make a start with my FREE painting course. Who knows where this journey may end up, but you will start something special.
There is more!
|
AuthorMalcolm Dewey: Artist. Country: South Africa Archives
June 2024
Categories
All
FREE
|
|





 RSS Feed
