|
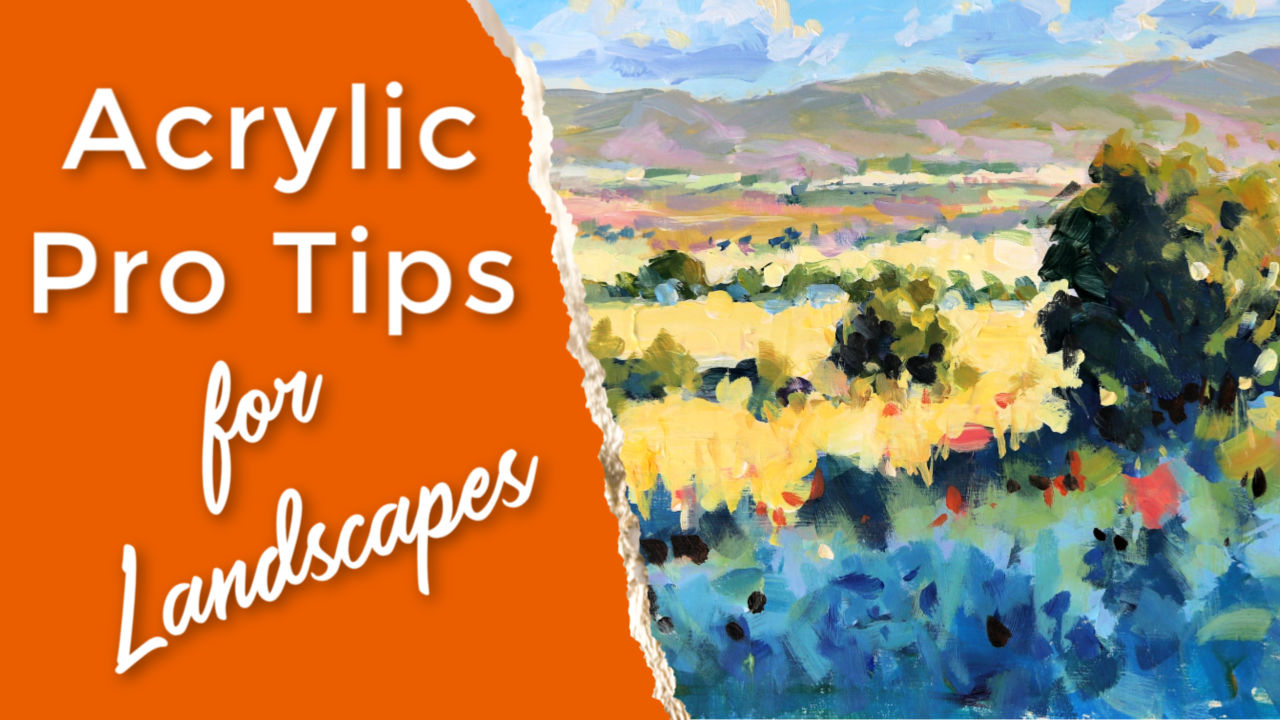
Do you want to see your painting skills progress over time? Sure you do and so will anyone who loves painting. Practice plays a big part. Nothing beats time spent actually painting. But learning new techniques to add to your experience is vital too. You know the old adage about doing the same thing and expecting different results right? Not going to happen. I have covered beginners tips on acrylic painting before. In this article and video I am going to show you a few more advanced tips.
Ready to learn more about acrylic painting?
Exploit Versatile Acrylics
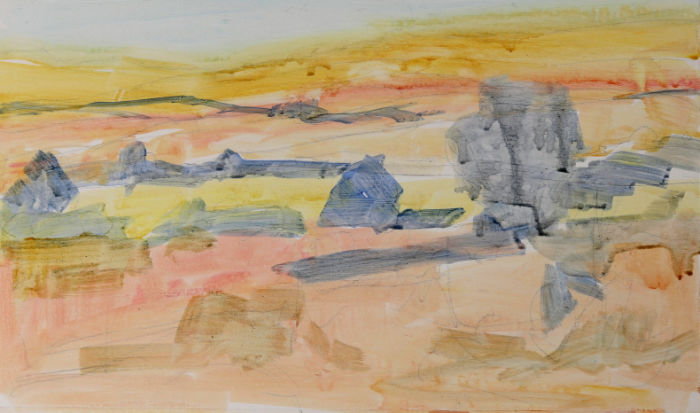
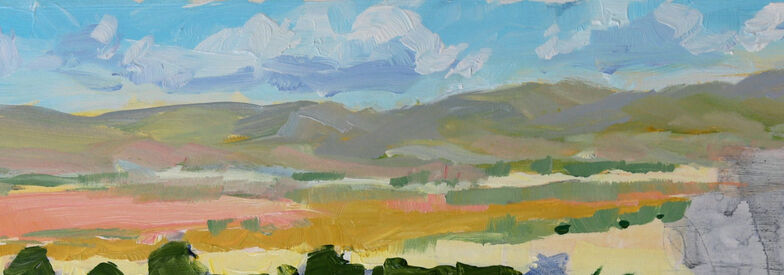
Typically artists start their painting with thick acrylic paint straight out of the tube. Most acrylics are actually quite thin and can be used direct from the tube. But this still makes a relatively opaque layer. Another option is to thin the acrylic a little more so that it resembles a watercolor wash. Not too runny. But nice and transparent. First step then is to tone the canvas in a warm or cool tone. In most of my landscape paintings I choose a warm tone using burnt sienna or raw sienna. Then if there are highlighted parts of the landscape I will use lift off some paint with a cloth or tissue. Much like reserving lights with watercolor. Then move on to middle value and dark value shapes also using thin paint. Now the composition is established and the color pattern is in place. I then let this loose stage dry completely before moving on. Any problem areas are identified and I try to plan ahead a little. Acrylics dry quickly anyway, but you can use a hair dryer to hasten things along if you prefer. Interesting Sky? Very often the sky is a fairly blown out pale color in photographs. No surprise that many artists fudge this area with a light blue color. The end result, especially with acrylics, is a rather flat and dull shape. The thing with acrylics is to work them hard. In this respect acrylics are not as forgiving as oils. What this means is use a variety of color, value and thickness of paint application in your sky area. For example near the horizon you could use white, yellow ochre and cerulean blue to get a light, greenish blue. Lean more towards ochre and white paint combination and you get a warm realistic color. The sky will cool and get bluer as it rises up. Make this gradation visible. Then clouds. Avoid hard edged blobs that look like legless sheep. Most often clouds are kind of wispy and undefined. Use brushwork to give this impression of cloud streaks and you will suggest movement in the sky. If there are definite cloud shapes then note that most of the cloud is in shade. A greyish blue-violet perhaps? Often only a small part of the cloud shows sunny highlights. Emphasise the yellow tinged highlights against the shadow area of the cloud. This can look really effective and interesting. Aerial Perspective Often overlooked, aerial perspective color and shapes make landscapes look vast, real and compelling. Without this technique your landscape will look more two dimensional. What we want is to lead the eye into the painting. Perspective lines help, but I want to focus on color more. In the demonstration you will see how color is used to make the hills and distant landscape look further away. The colors used are more desaturated, cooler and vaporous. Of course they look this way in relation to the foreground color. Relationships between colors is the key. If you use the same color in the distance as in the foreground you will not get a sense of depth. I like to desaturate colors by adding a little white paint and also, where necessary, the complement of a color. Use the latter tip carefully though. If you mix complementary colors together in fairly equal parts you will get a lifeless muddy color. Especially when white is also added. Instead make sure one color dominates. For example if the green is too vibrant for distant hills, add a touch of red. Make it a smidge of alizarin (cool red) and see what that does to the green. Add a little white to lighten up the value and see. Test a little on your canvas. Stand back and look. Does it look right? Learn more about color mixing with these tips.
Critical Questions
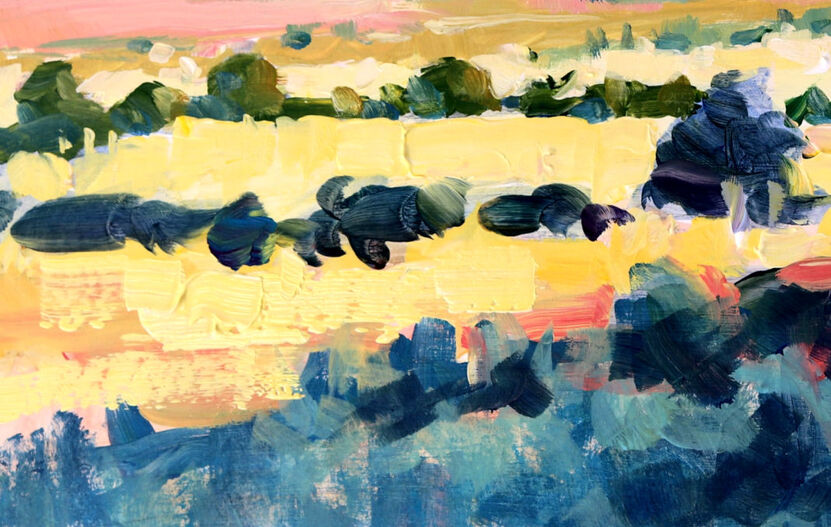
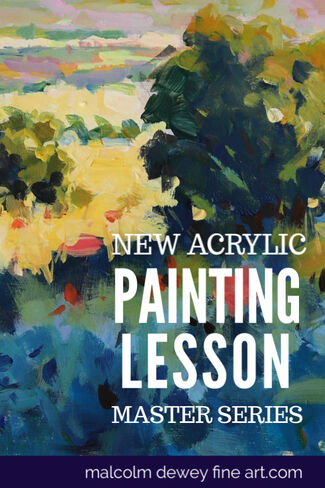
When deciding on color these questions are helpful (to put it mildly). Ask yourself if the color needs to be: Warmer? If so add a little warm color eg, yellow/red/orange etc Cooler? If so add a little cool color eg. blue Lighter? If so a little white maybe Darker? If so then more of the dark base color eg, blue, alizarin and so on Of course all of these questions means relating one color to another. A color is only warmer/cooler or lighter/darker in relation to another color. Colors Change Over Distance Good to remember that warm colors gradually change over distance. At least our perception of color changes. First to go is yellow and its cousins. Then reds and finally the blues are left until they too disappear into the vapour. When I mention “cousins” this is to emphasis that yellow, and any other color, does not simply disappear in an instant. Rather it is a gradual fading away into something else. Yellow will lighten and cool down and look more like yellow ochre and then a cool pinkish color. Greens lose yellow and become more blue before they also fade into coolish blue/greens. Never forget the influence that the sun has on distant colors though. The sun brings it own game to the party. Sometimes distant hills have a warm glow which seems to conflict with the idea that all distant objects must appear cool. Not so. Observe what is actually happening in nature and mix your color accordingly. Layers of Paint An important tip with acrylics is to layer on the paint. Acrylics tend to flatten as they dry. This can leave your painting surface very flat and textureless. If you want a bit of juicy texture in the foreground you need to butter on those final layers and then some. Maybe you can use a texture gel to beef up your acrylics. Or use a heavy body acrylic such as a professional range. However these do cost a fair bit more. The point is do not be shy. Acrylics dry quickly and you can add more layers safely. No cracking will take place with acrylics either. Accents Most beginners cannot wait to get into the highlights of a painting. This stage must be earned though so lay the foundation with areas of dark or cool color that will make the highlights pop. Less is more too. The pro tip though is to add a few dark accents. Those mysterious dark spots and marks in the shadows as well as light areas do make a difference. Dark accents set off areas of color and add interest too. Most viewers will not know why, but it is the dark accents that tantalise the eye. Look for these in the video below. I hope that these tips have given you a few new topics to think about in your painting. If you want to take this further check out the masterclass lesson below too. Video demonstration and Master Lesson: I have a full painting demonstration that will show you all of these tips in action and more. Over forty minutes of video and instruction in a mini-master course. You can grab this class now for a nice price. Click here to learn more. Pin me please ... |
AuthorMalcolm Dewey: Artist. Country: South Africa Archives
June 2024
Categories
All
FREE
|
|





 RSS Feed


